• Edible luster dust and non-toxic craft glitter are not the same thing — only use FDA compliant products in food
• A dry brush gives you more control than mixing with liquid for your first project
• Start with 1/8 teaspoon or less — you can always add more, you can’t take it back
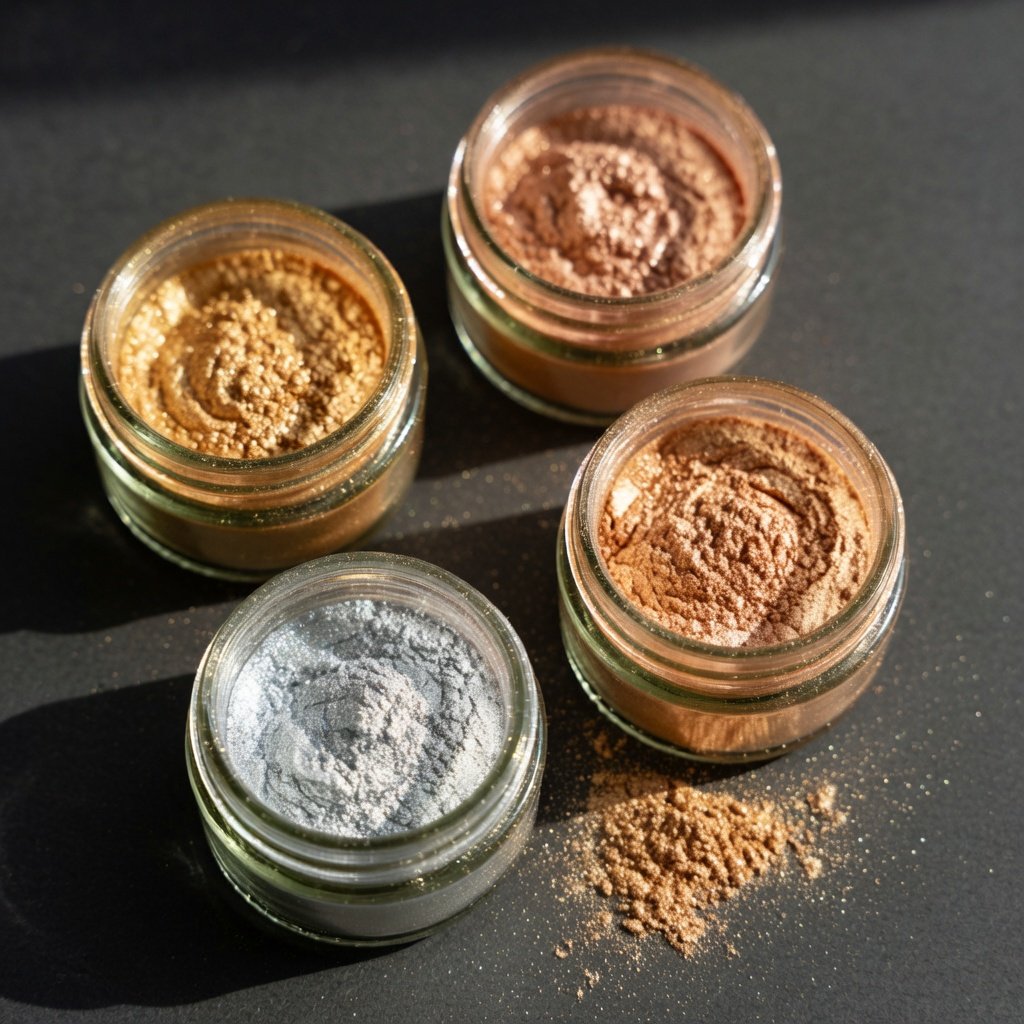
• Gold, Pink, and White are the three best starting colors because they work on almost everything
Edible Luster Dust for Beginners: Your First Project Guide
Every first-timer makes the same two mistakes: they buy the wrong product, and they use too much of it. Fix those two things and everything else is easy. Here’s what you actually need to know before you open a jar.
Wait — Is Your Glitter Actually Edible?
This matters more than anything else in this guide. A lot of glitter products sold at craft stores and on Amazon are labeled “non-toxic” — not “edible,” not “FDA compliant.” Non-toxic means it won’t send you to the hospital. It doesn’t mean it belongs in food.
Real edible luster dust is made from food-grade mica pigments — the same kind that’s been used in food and cosmetics for decades. It’s tasteless, odorless, and completely safe to eat. Our luster dust is FDA compliant, vegan, and gluten-free. If the jar you’re holding doesn’t say FDA compliant, don’t use it on anything you’re serving to people.
Quick gut-check: flip the jar over and read the label. “Non-toxic” only? Put it back.
What You’ll Need for Your First Project
Grab a jar of luster dust, a small food-safe paintbrush or a clean dry pastry brush, and whatever you’re decorating. That’s it. You don’t need special equipment, you don’t need an art degree, and you definitely don’t need to mix anything before you start.
A few brush notes: softer brushes give you a lighter, more diffused shimmer. Stiffer bristles let you push pigment into crevices or build more intense color. For a first project, any small soft brush works fine. Even a clean finger in a pinch — it’s edible, after all.
Choose Your First Color
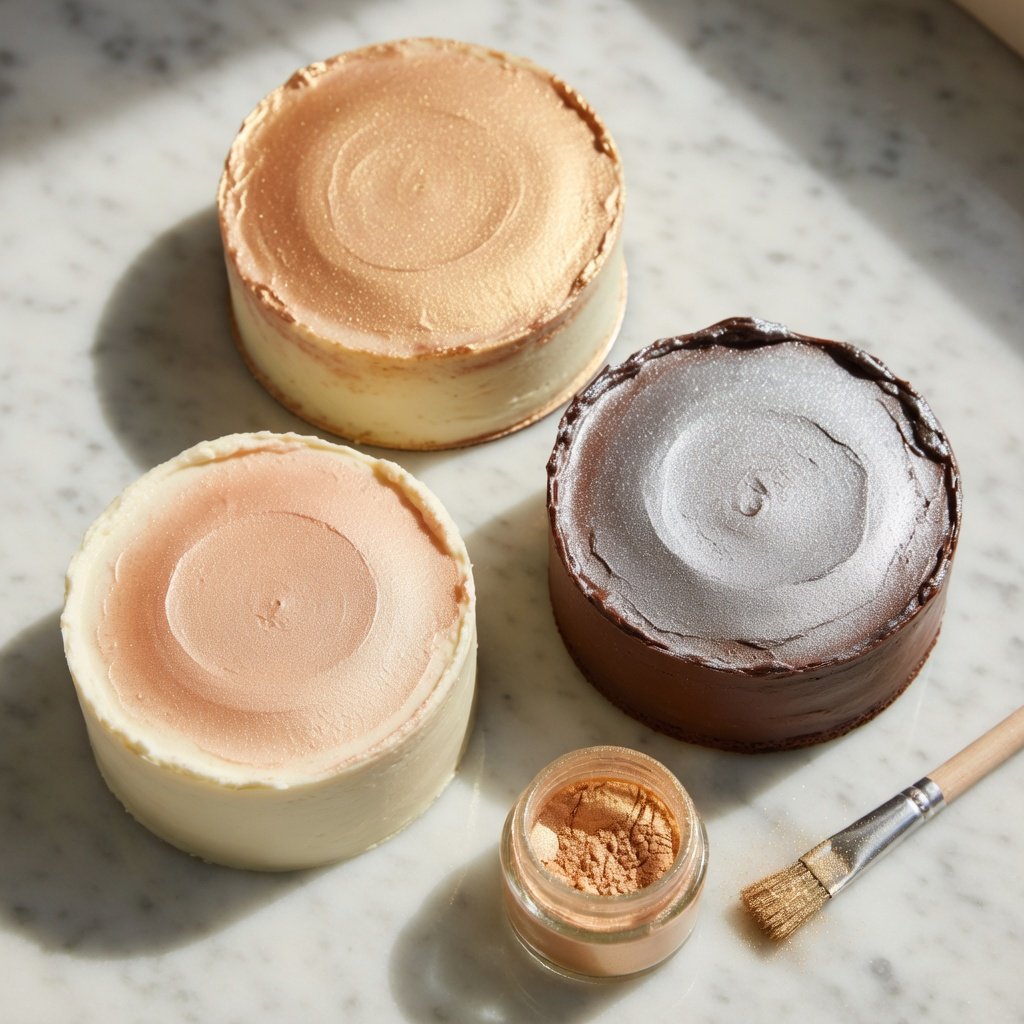
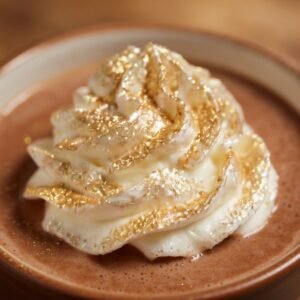
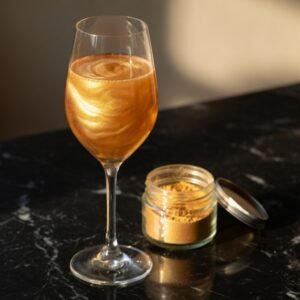
Gold outsells every other color by a significant margin, and the reason is simple: it works everywhere. Cupcakes, cakes, chocolates, cocktails — gold reads as “fancy” in any context. The warm tone catches light in a way that makes even simple desserts look intentional.
For a first project, we’d go with Gold Luster Dust on buttercream. Frost something in white or ivory, let it set up slightly, and dry-brush gold across the surface. Five minutes of work. The result looks like it belongs in a bakery case.
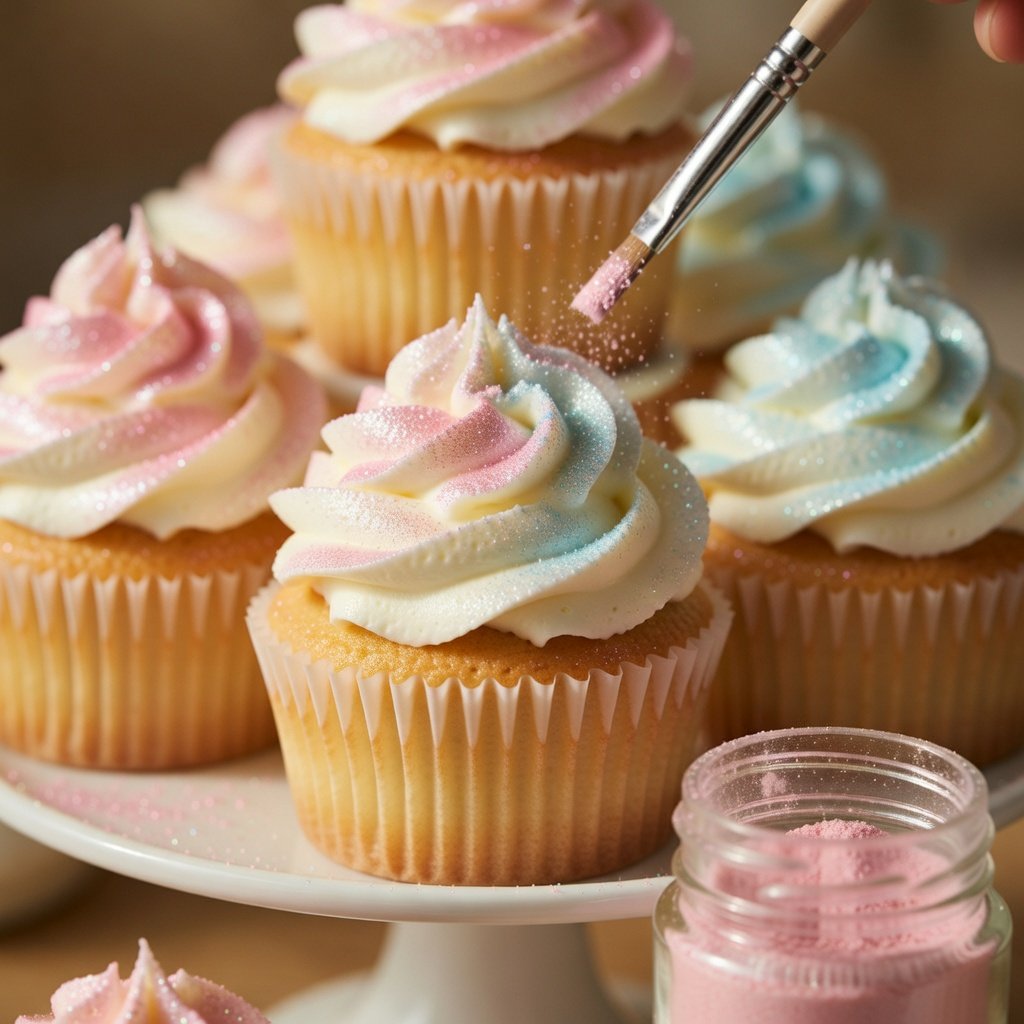
Pink is the move for birthdays, bridal showers, Valentine’s Day, and basically any celebration that isn’t trying to look somber. It’s a warmer shimmer than you’d expect — more rose-toned than bubblegum — which makes it versatile even outside the obvious pink-themed stuff.
Pink Luster Dust on white fondant or white chocolate is a classic first project. The contrast makes the shimmer pop, and it photographs beautifully. Good choice if you’re making something for someone else and want it to look impressive.
White sounds boring. It’s not. On dark surfaces — chocolate ganache, dark fondant, blackberries — white luster dust creates this pearl-like shimmer that looks like something out of a jewelry case. It’s subtle in the best way.
White Luster Dust is also the most forgiving for beginners because it doesn’t show application mistakes. Too much gold looks chunky. Too much white just looks… pearlescent. Great pick if you’re still figuring out how much to use.
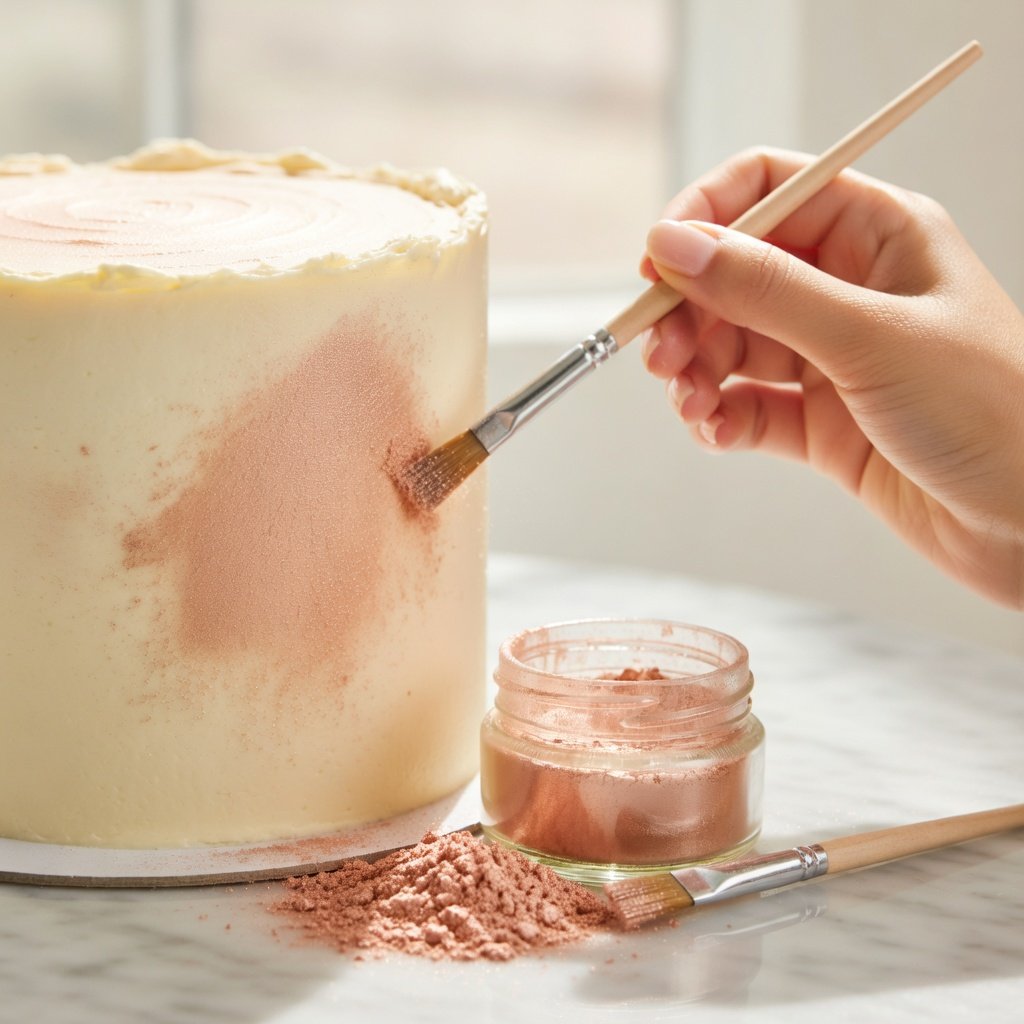
The Dry Brush Method (Start Here)
Before you try anything else, do this. It’s the most beginner-friendly technique and it works on almost every surface.
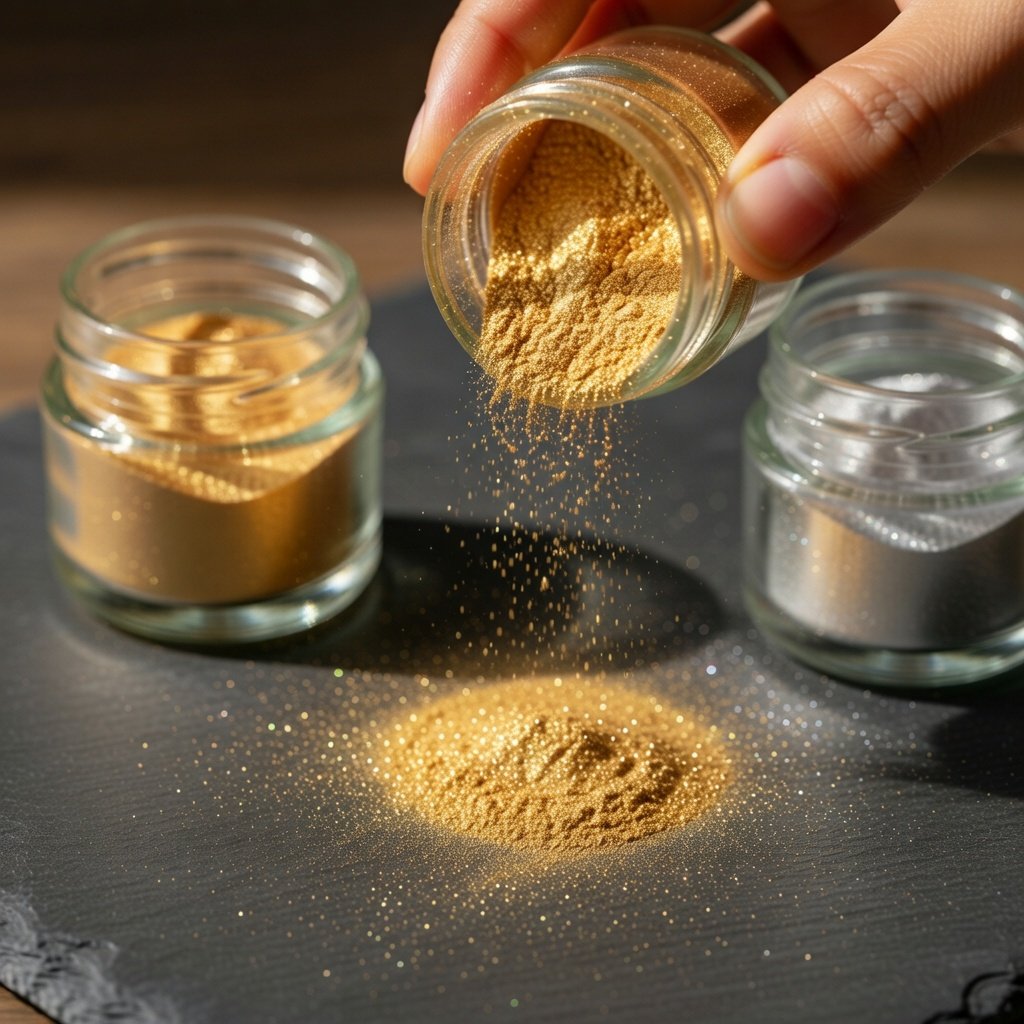
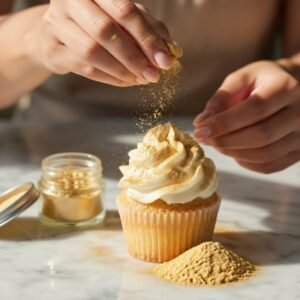
Open the jar and tap a small amount — genuinely small, we’re talking a light dusting — onto a plate or piece of parchment. Dip your brush, tap off the excess, then apply to your surface using light strokes or a gentle circular motion. Build it up gradually. You want to layer, not dump.
The dry brush method gives you control. You can cover an entire cupcake or just catch the edges of a rosette. Work in sections, check your progress, add more where you need it. Takes about two minutes once you get the feel for it.
Your First Three Projects (Ranked by Difficulty)
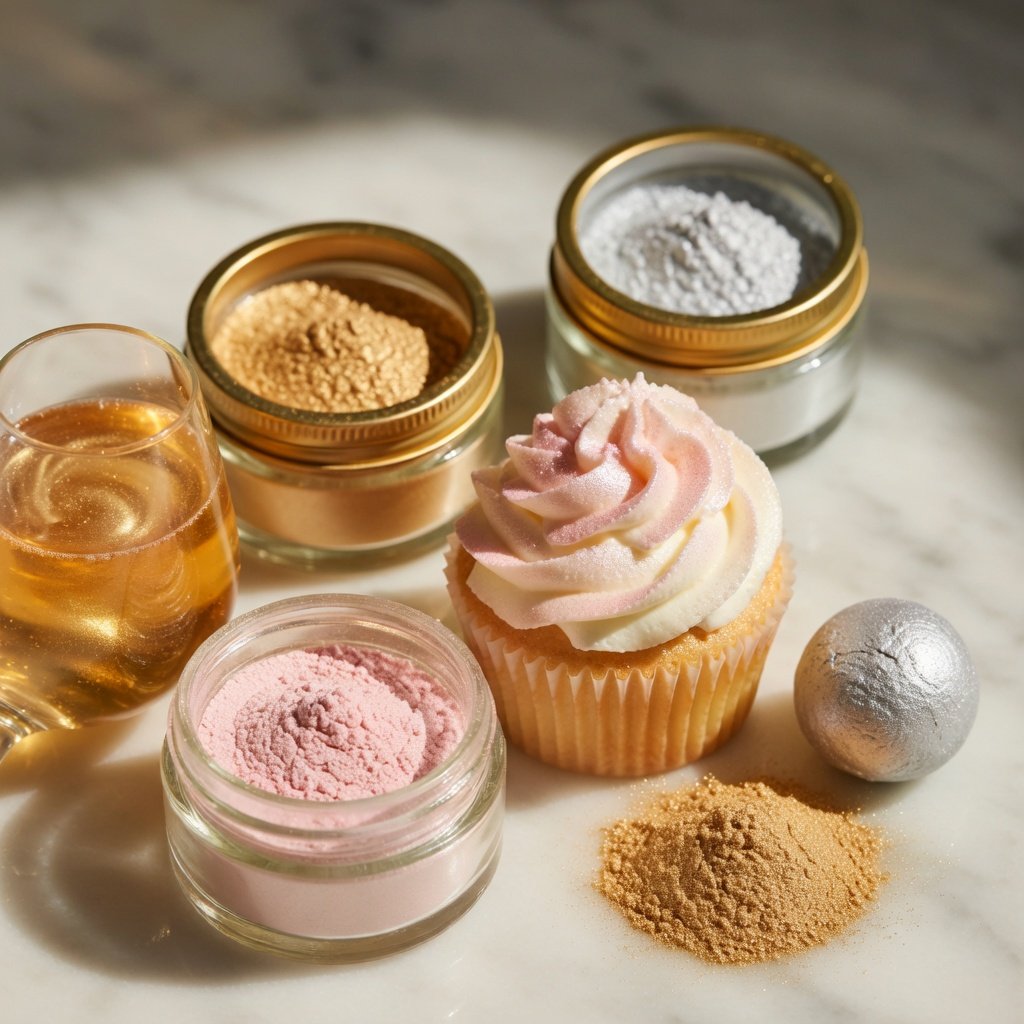
Cupcakes with buttercream frosting — easiest possible start. The slightly rough texture of buttercream holds pigment well and hides uneven application. Frost, wait 10 minutes for the surface to firm up, dry-brush gold or pink across the top. Done.
Dipped strawberries — dip in white chocolate, let set completely, then dust luster dust over the surface before serving. The smooth chocolate surface shows off the shimmer better than almost anything. Gold on white chocolate is almost unfairly good.
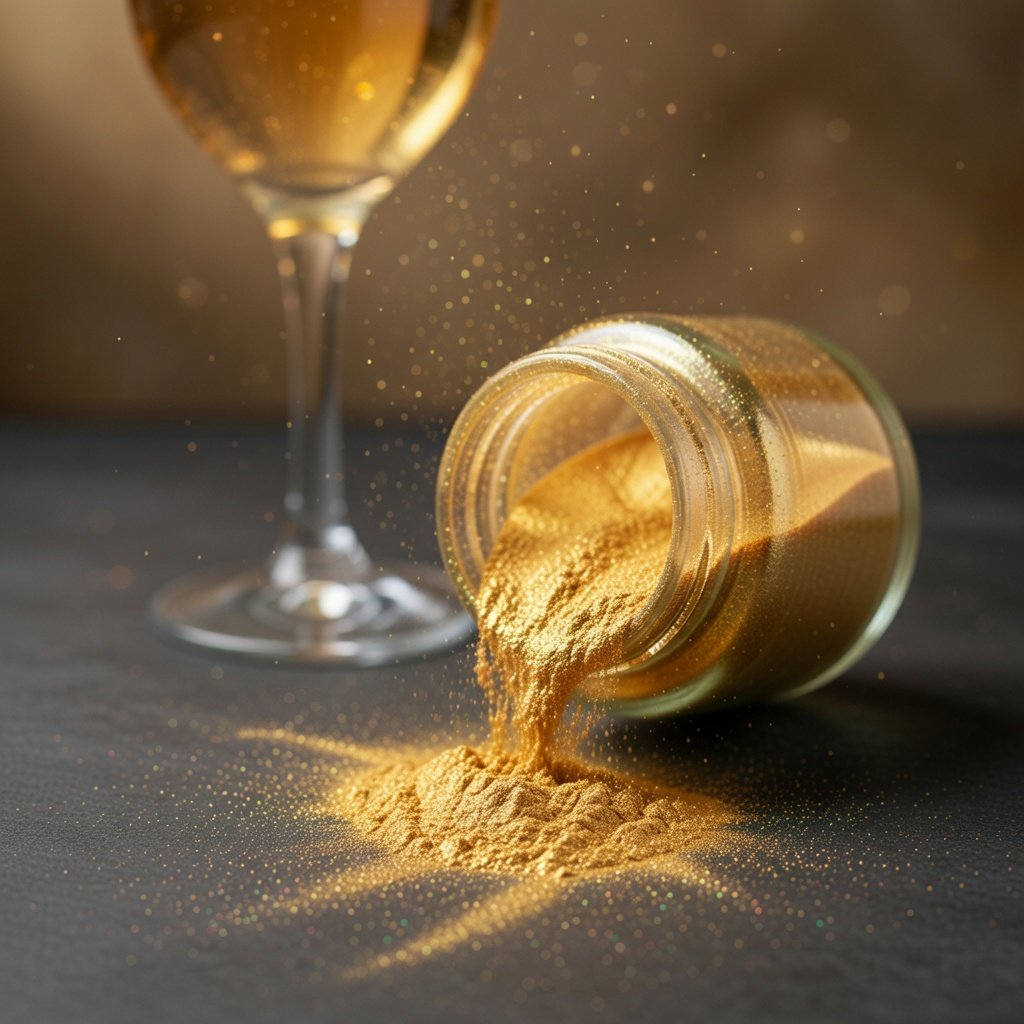
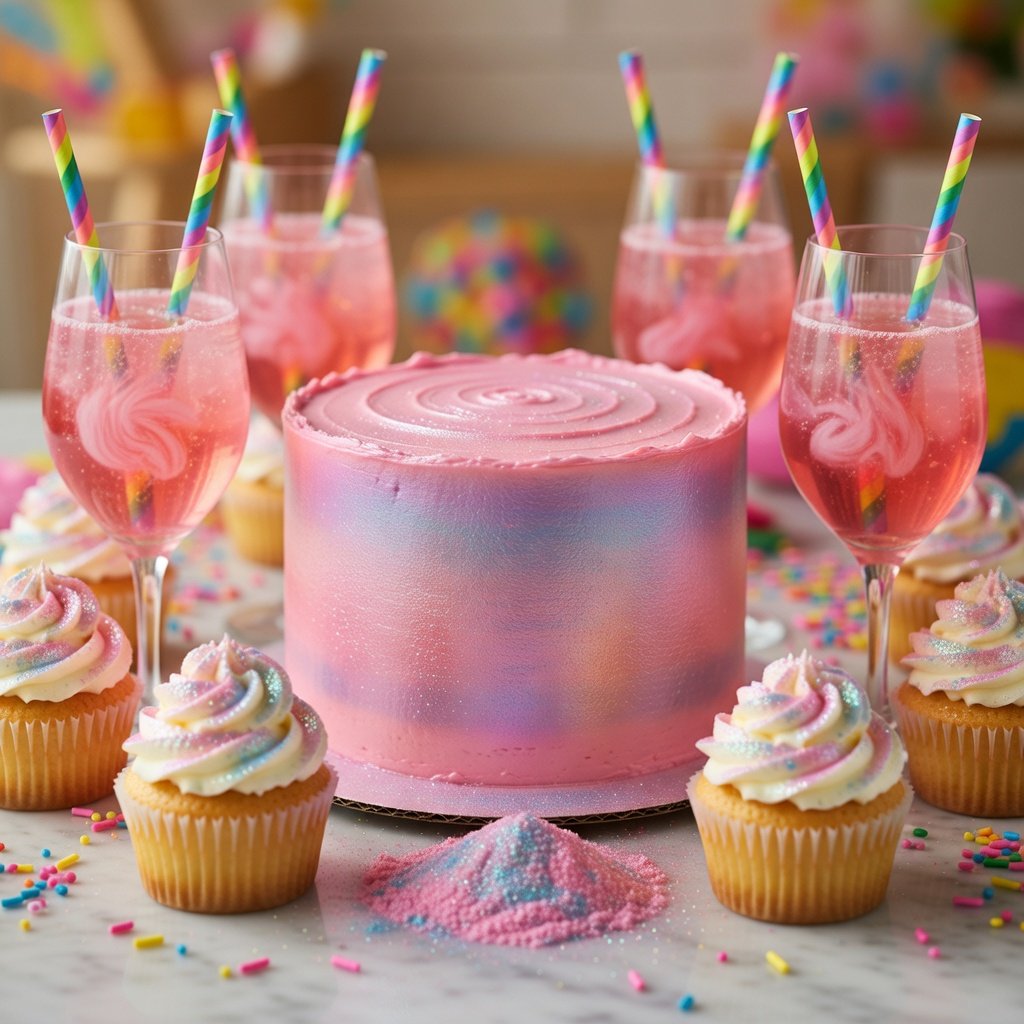
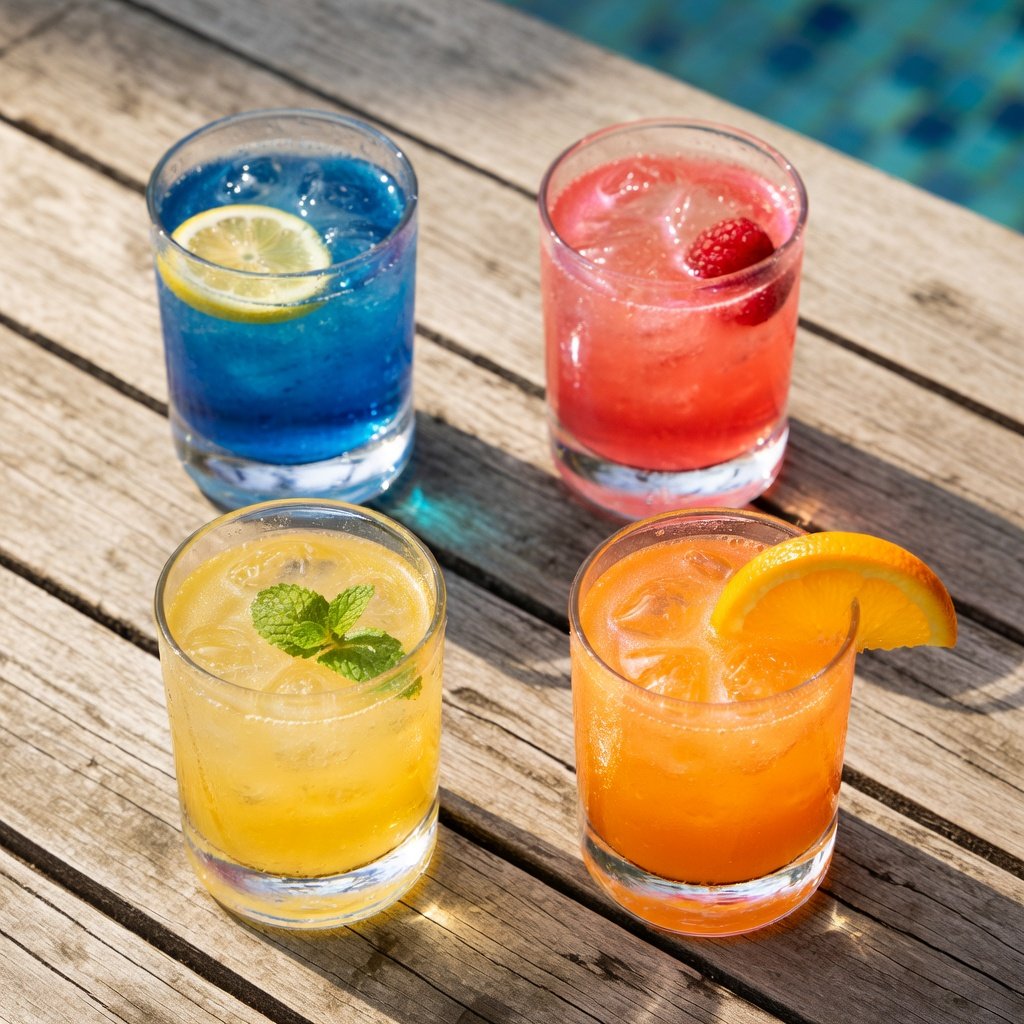
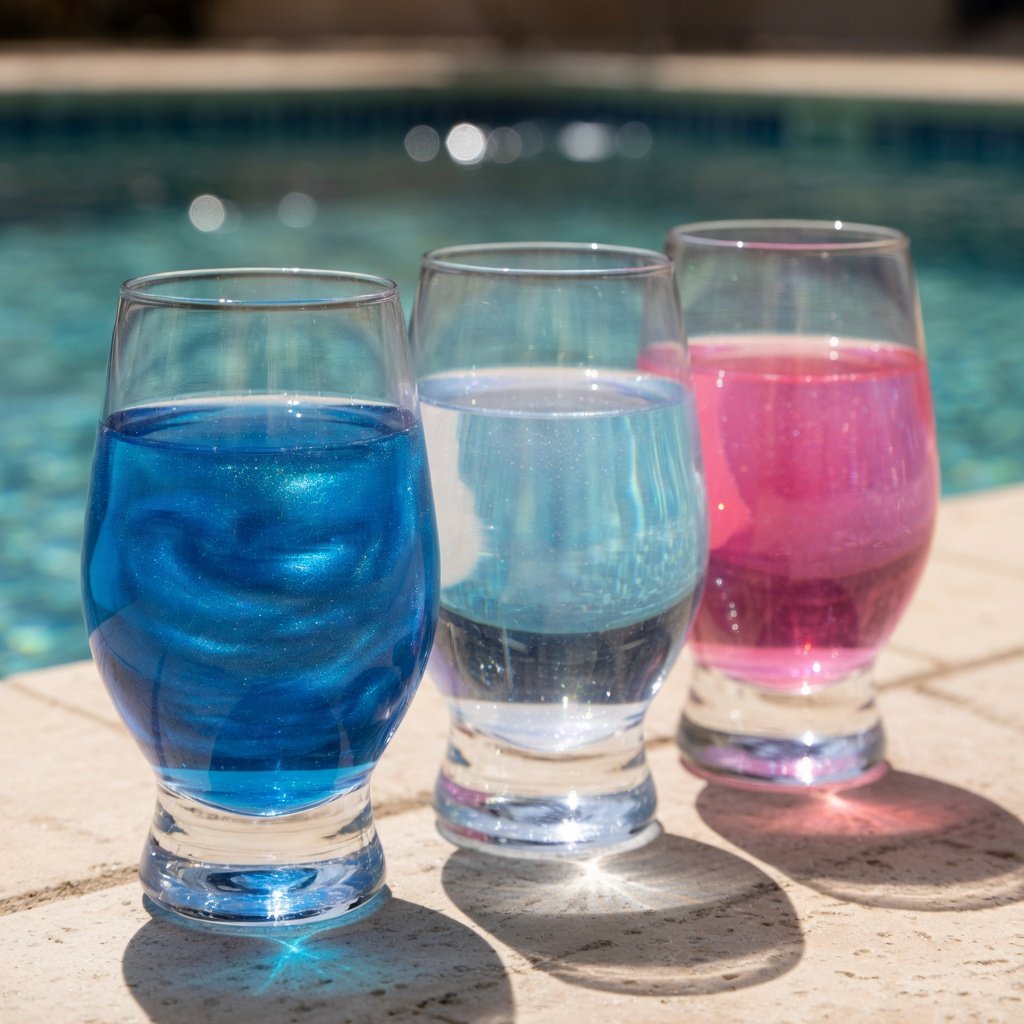
Cocktails or mocktails — add 1/8 teaspoon of luster dust directly to a glass before pouring. The shimmer moves through the liquid as your guests swirl their drinks. Gold in champagne is the classic version, but it works in any clear or light-colored drink. Use less than you think you need.
Common Beginner Mistakes
Using too much is the big one. The instinct is to pile it on, but more pigment doesn’t mean more shimmer — it means clumped, uneven, chunky-looking results. A little goes a long way. Our 10g jar covers somewhere around 80+ cocktails or dozens of cupcakes.
Applying to wet surfaces is the other one that trips people up. Luster dust doesn’t adhere properly to fresh buttercream or melted chocolate. Let things set first. Slightly firm buttercream, fully set chocolate, dried fondant — that’s when you get a clean, even shimmer.
And don’t skip the “tap off excess” step. Loading a heavy brush and going straight to your cake is how you get a big gold smear on something you worked an hour to decorate.
Storing It Between Projects
Keep jars tightly closed, away from moisture and direct light. A kitchen cabinet works fine. Don’t store it near the stove where steam can get in. Luster dust doesn’t really expire — the color stays stable basically indefinitely — but moisture will cause clumping, which is annoying to work with.
If a jar does clump up, break it apart with a toothpick or the dry end of a brush before using. The pigment itself is fine, it just needs to be loose to apply evenly.
FAQ
Yes — and it works really well on fondant or hard surfaces like macarons. Mix a small amount of luster dust with clear food-grade alcohol (like vodka or Everclear) or lemon extract. It’ll brush on like paint and dry to a metallic finish. Start with a tiny amount of liquid — the consistency should be thinner than nail polish, not watery. For beginners, dry brush first. The wet method is great but leaves less room for error.
More than you’d think. A 10g jar of luster dust covers roughly 80-100 cocktails at 1/8 teaspoon each, or about 50-60 cupcakes when dry-brushing. If you’re doing a big event, one jar is usually enough. Two if you want a backup and heavy coverage.
Our luster dust is FDA compliant, tasteless, and made with food-grade ingredients — the same mica pigments used in food manufacturing for decades. Yes, kids can eat it. The whole point is that it’s actual food-safe material, not just “won’t kill you in small doses.”
Wet or sticky surfaces — fresh glaze, warm ganache, tacky frosting. The dust won’t spread evenly and tends to clump where it lands. Very matte, dry surfaces can also be tricky; the pigment doesn’t adhere as well without any surface texture to grip. Slightly glossy, firm, and dry is the sweet spot.
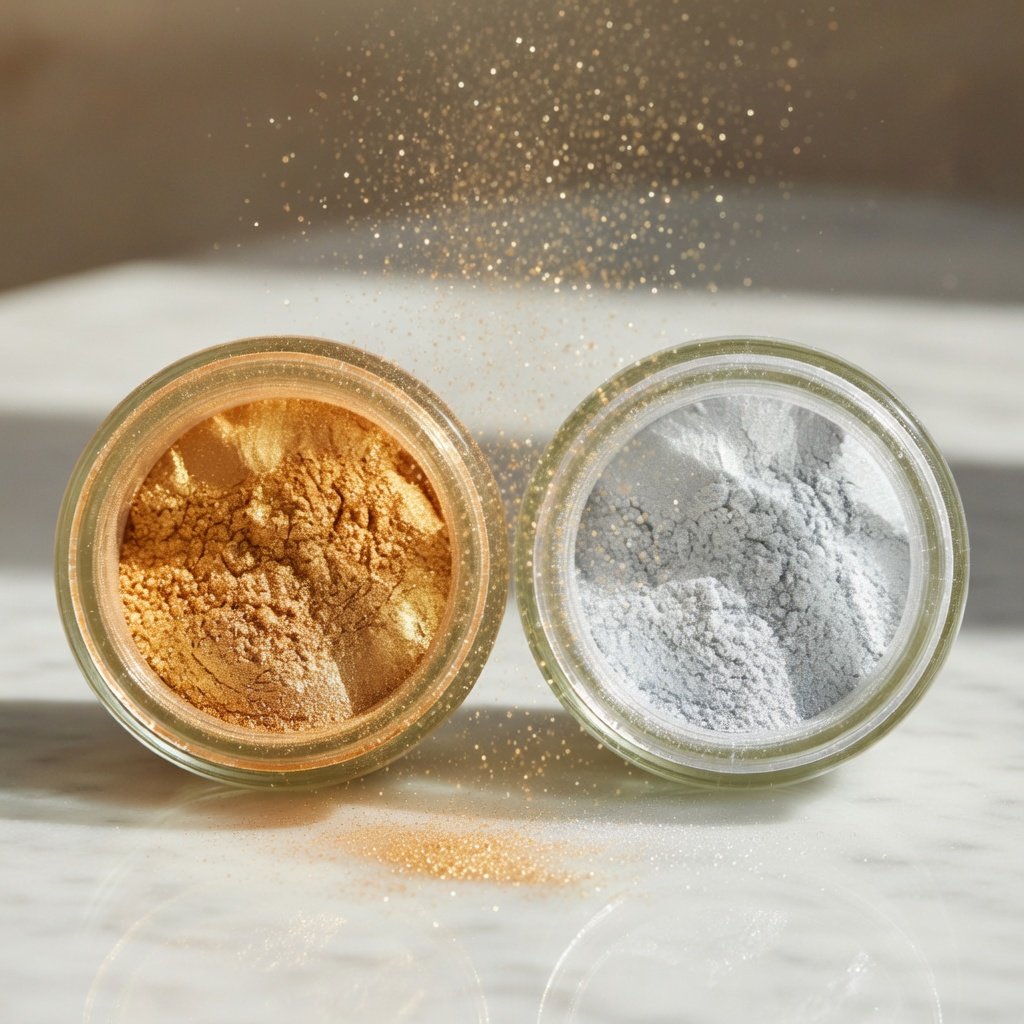
Gold. It’s warmer, more forgiving on most surfaces, and works in every context from birthday cakes to New Year’s cocktails. Silver is great — especially on dark chocolate — but gold is the more versatile starting point. Buy gold first, silver second.