- Edible glitter gets its shimmer from mica — a naturally occurring mineral that’s been used in food for decades
- The sparkle effect comes from light bouncing between ultra-thin mica layers, not from any coating or dye
- Mica-based luster dust is FDA compliant, tasteless, and genuinely edible — not just “non-toxic”
- German mica pigments produce a richer, more consistent shimmer than cheaper alternatives
People ask us all the time: what is edible glitter made from? The short answer is mica. The longer answer is actually pretty interesting — because the shimmer you see in a champagne glass or on top of a frosted cake isn’t a coating or a trick. It’s physics.
Here’s how it actually works.
Mica: The Mineral Behind the Shimmer
Mica is a group of silicate minerals found in rock formations around the world. It’s been used in cosmetics, industrial coatings, and food for a long time — we’re not talking about some new synthetic ingredient. The key property that makes mica so useful is that it cleaves into incredibly thin, flat sheets. Almost transparent ones.
Those thin sheets are what create the shimmer effect. When light hits a flat mica particle, some of it reflects off the top surface. Some passes through and reflects off the bottom. Those two reflected beams interfere with each other in a way that amplifies certain wavelengths of light — and suppresses others. The result is that deep, pearlescent glow that changes slightly depending on the angle you’re viewing it from.
That iridescence isn’t added to mica. It comes from mica’s structure. That’s the part most people don’t realize.
What Edible Glitter Ingredients Actually Look Like
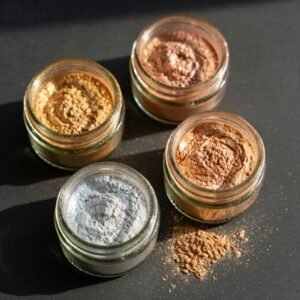
Luster dust is pretty minimal as far as ingredients go. The base is mica — specifically food-grade mica, processed to meet FDA standards for consumption. Most colors you see on the shelf are iron oxide pigments or other approved colorants blended into the mica. Our full ingredient breakdown post goes deeper on this, but the short version: it’s mica, a color pigment, and nothing else.
No fillers. No binders. No flavor. That last part surprises people — it’s completely tasteless. Mica doesn’t interact with your taste buds at all. You’re not eating something that tastes metallic or waxy. You’re eating something that tastes like nothing and looks incredible.
Our luster dust is also vegan, gluten-free, and free from GMOs. Not because we engineered it to hit a marketing checklist. Just because mica-based pigments don’t contain any of that stuff to begin with.
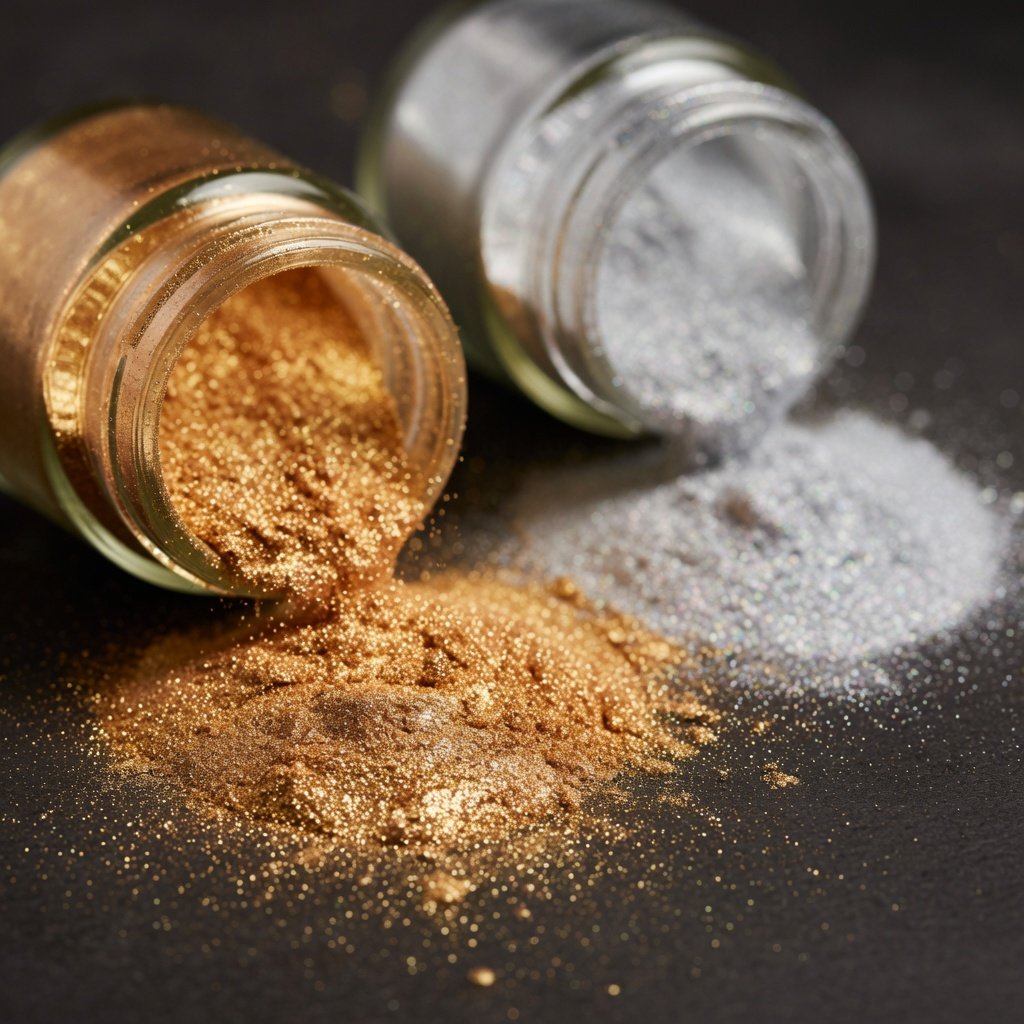
Not all mica is created equal. The particle size, purity, and processing method all affect how the final product looks on food. German mica — which is what we use — goes through stricter refinement processes than most alternatives. The particles are more uniform in size and shape, which means the light reflection is more consistent. More consistent reflection means deeper, richer shimmer.
Cheaper mica (a lot of it comes through less regulated supply chains) tends to have irregular particle sizes. Some particles are too large, some too small. The shimmer ends up looking dull or patchy — like glitter that’s almost working but not quite. We noticed the difference the first time we tested German mica side by side with a standard supplier. It wasn’t subtle.
Mica particle size determines the visual effect more than almost anything else. Larger particles create a coarser, more sparkly effect — the individual flakes are visible, almost like craft glitter. Smaller particles create a smoother, more diffuse glow. Luster dust lives in that finer range: particles small enough to coat evenly, large enough to catch light from across the room.
The particle sizes used in food-grade mica are also small enough to pass through the digestive system without any issue, which is part of why it’s FDA compliant. This is actually one of the distinctions between luster dust and craft glitter — craft glitter uses plastic particles at a completely different size range. Not food. Not even close. (More on the safety side in our full safety breakdown.)
Here’s something that trips people up: in luster dust, the color and the shimmer are two separate things. The shimmer comes from mica. The color comes from the pigment blended in.
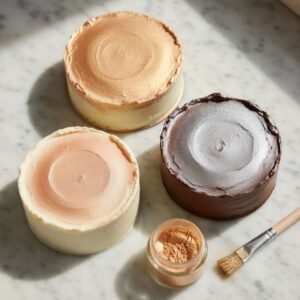
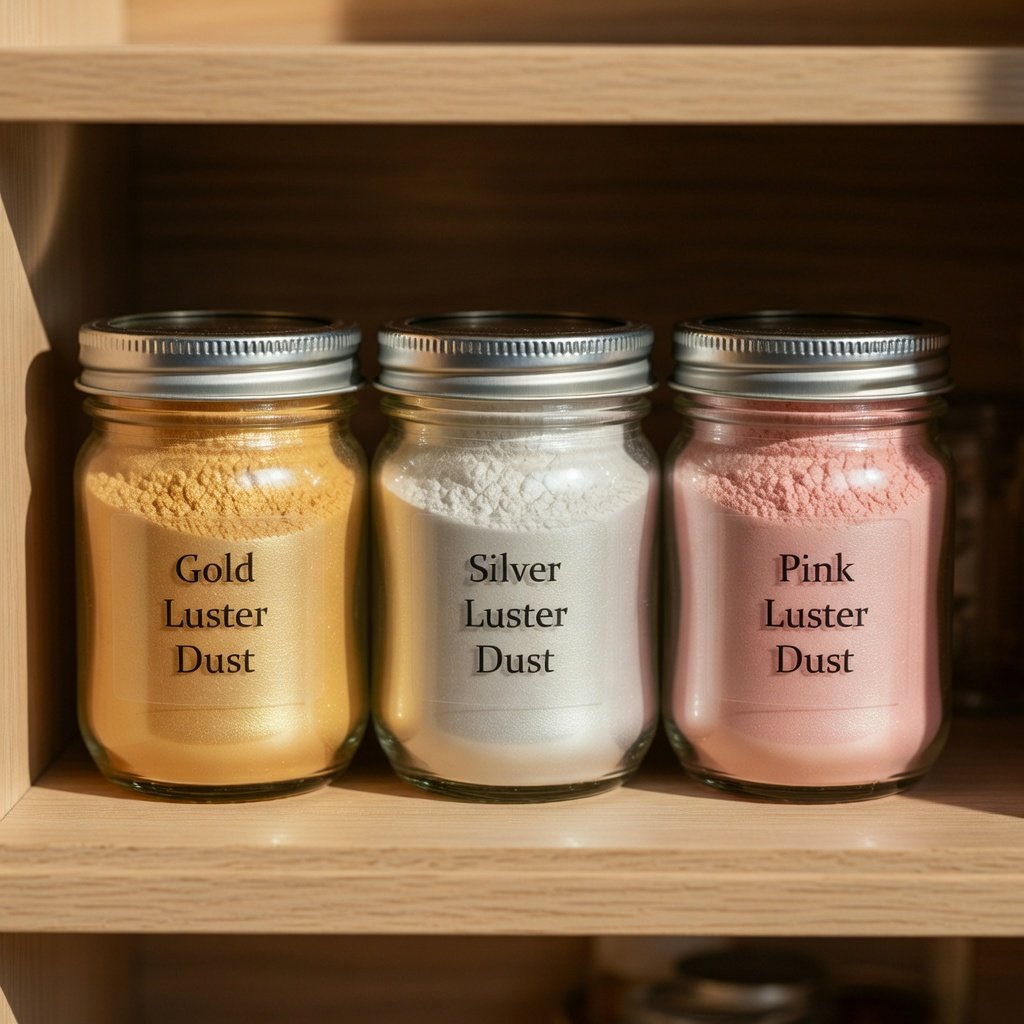
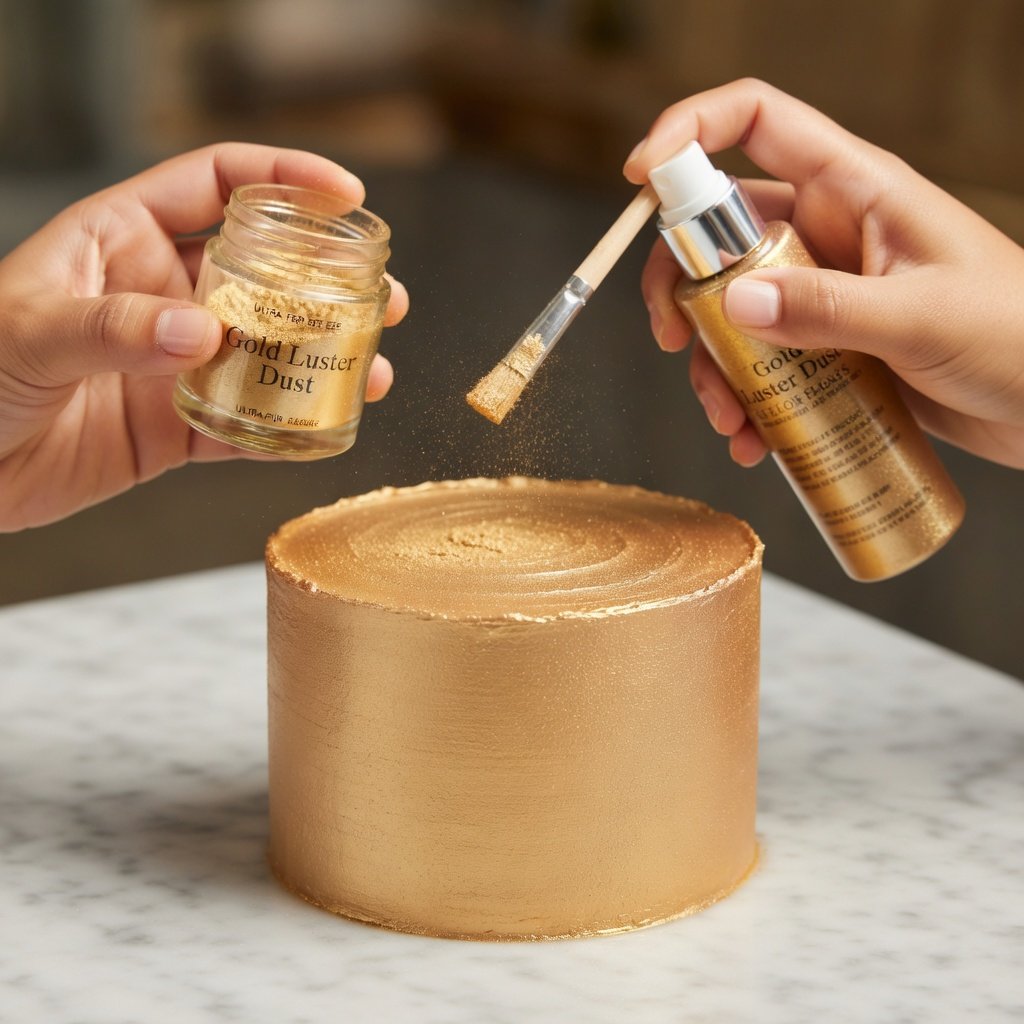
Gold luster dust, for example, is mica combined with an iron oxide pigment that shifts the base toward warm yellow-gold. The mica provides the reflective depth; the iron oxide provides the hue. Silver works the same way — the mica is the same, but the pigment keeps it neutral and cool-toned.
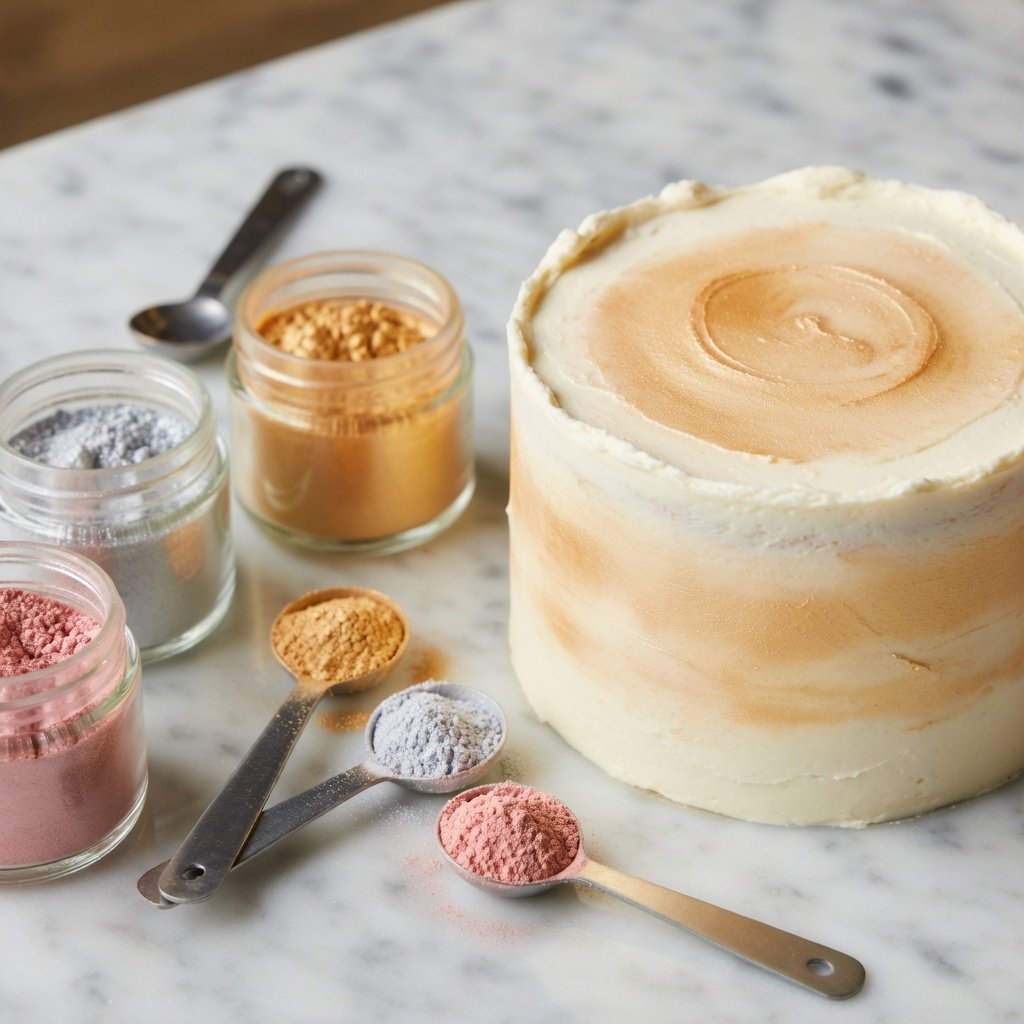
That’s why the shimmer quality across our whole color range is consistent. We’re not reinventing the mica for each color. The base is the same. We’re just changing what it looks like.
Why This Matters for How You Use It
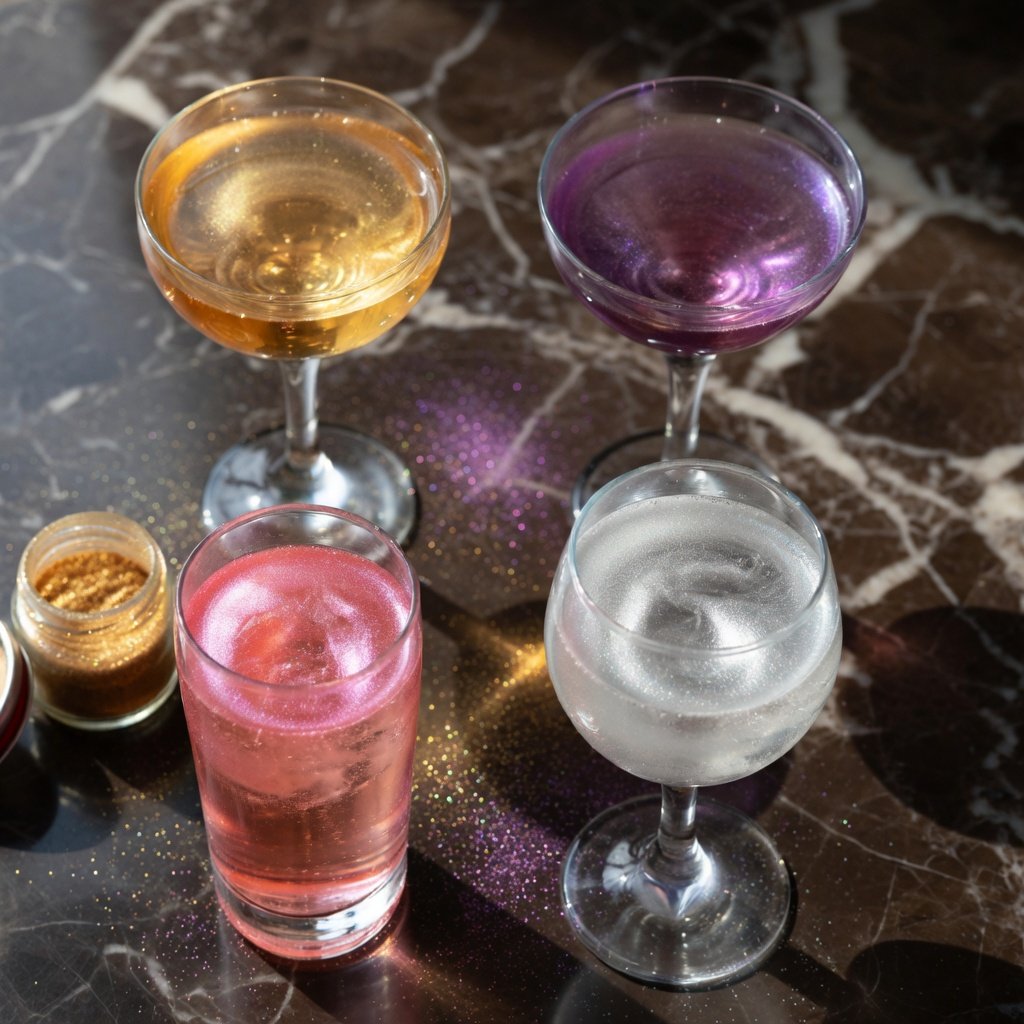
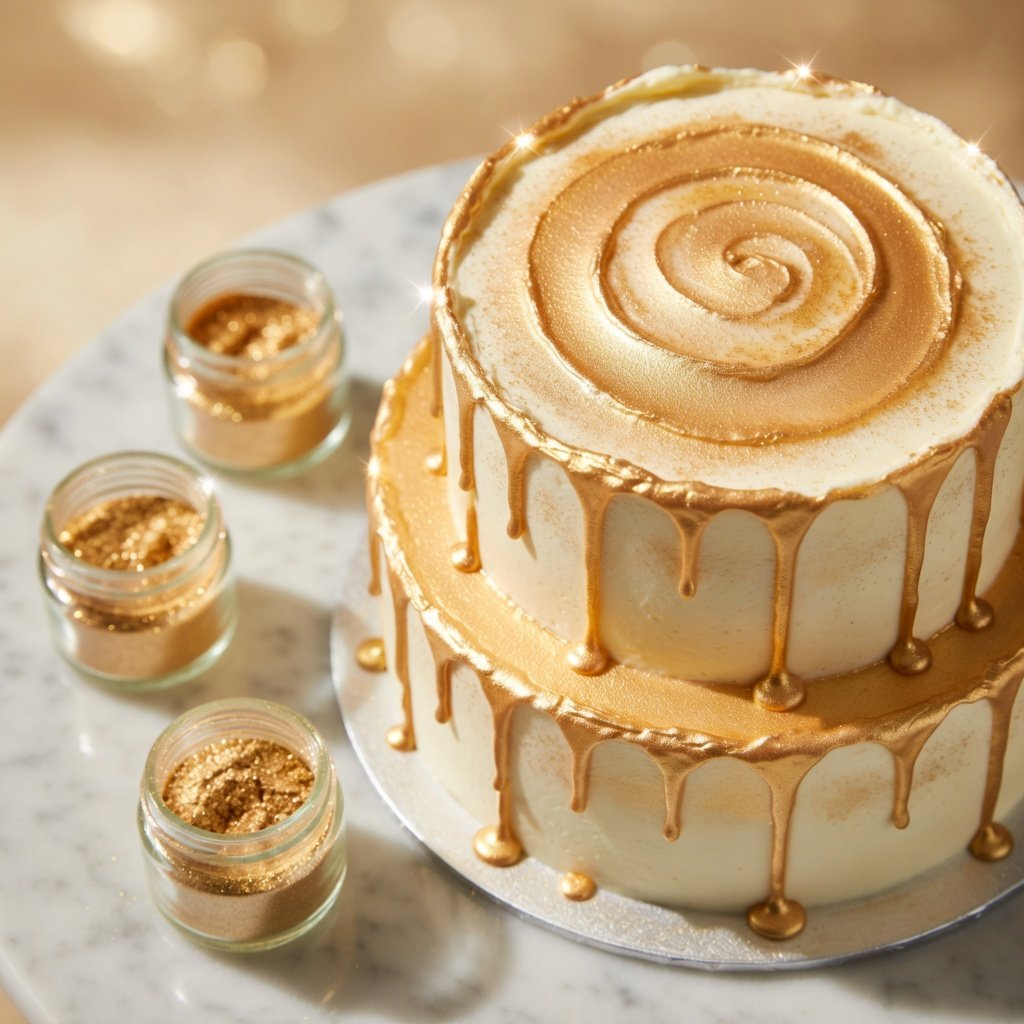
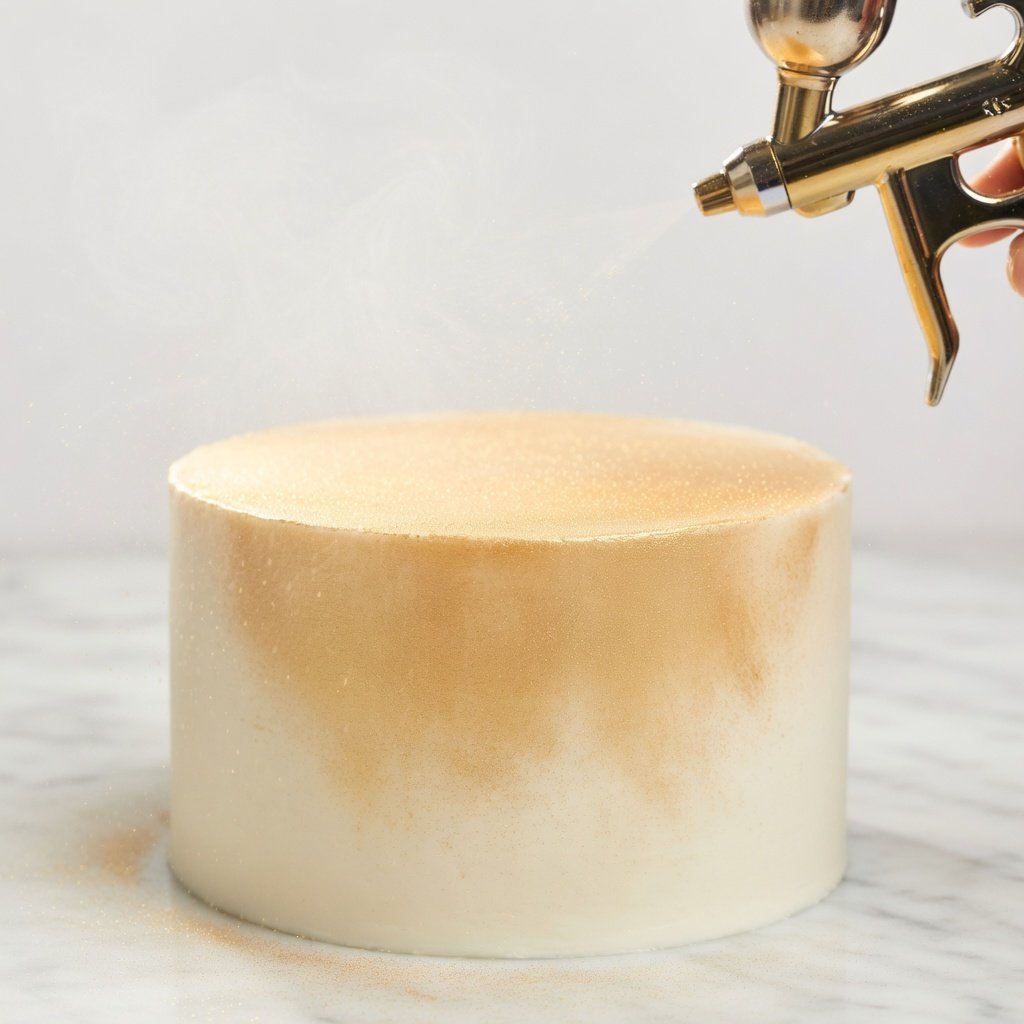
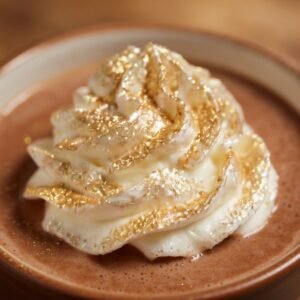
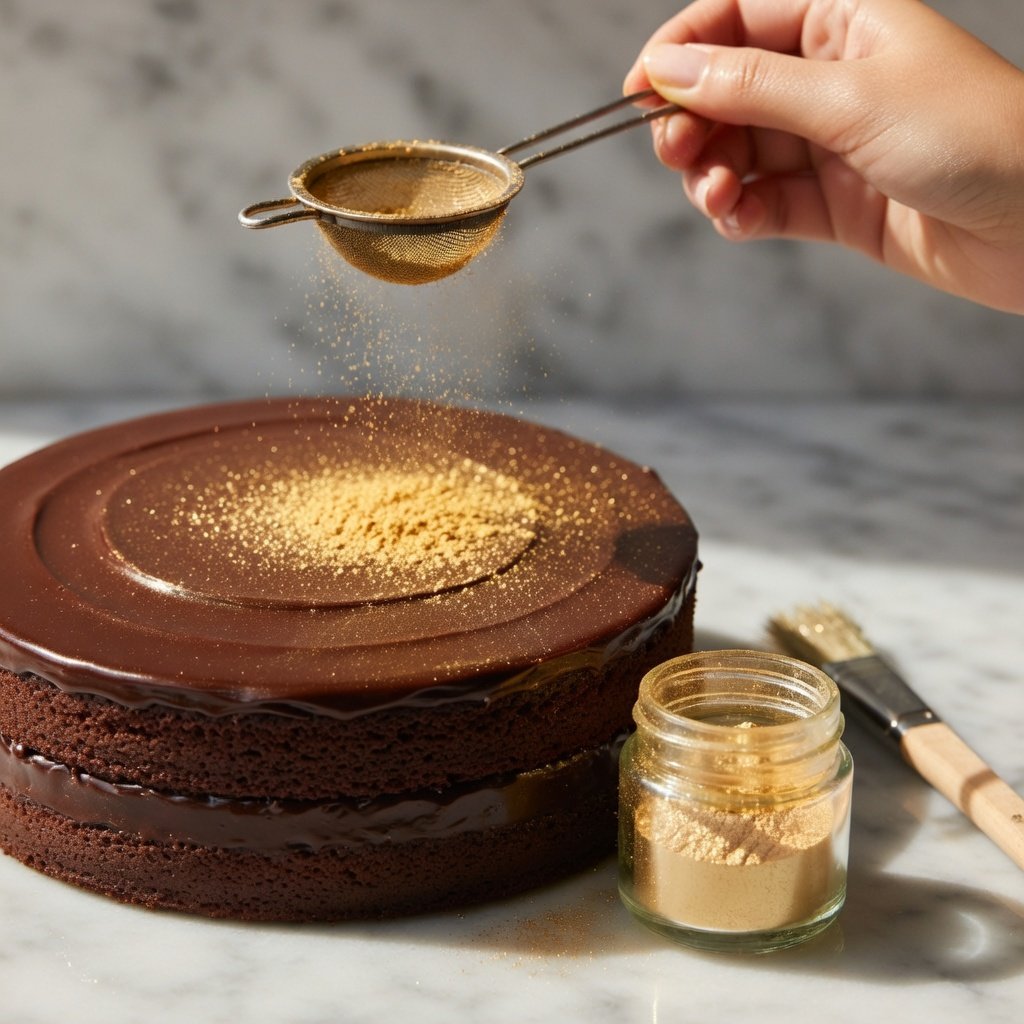
Understanding what’s in edible glitter actually changes how you use it. Because mica particles are flat and reflective, the orientation of the particle matters. On a smooth, wet surface — like frosting or the inside of a cocktail glass — the particles lay flat and the shimmer is maximal. On a rough, dry surface like uncoated cake, they scatter and lay at random angles. Still pretty, but different.
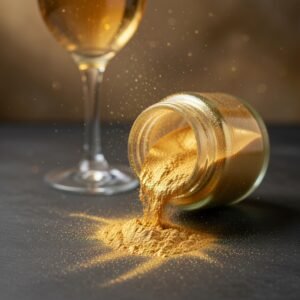
Mixing luster dust into a liquid activates it differently than dusting it dry. In a drink, the particles move constantly, catching light from every angle as they swirl. That’s why cocktails shimmer the way they do — it’s not static, it’s kinetic. The physics are doing the work. Our complete luster dust guide covers exactly how to use this to your advantage depending on what you’re making.
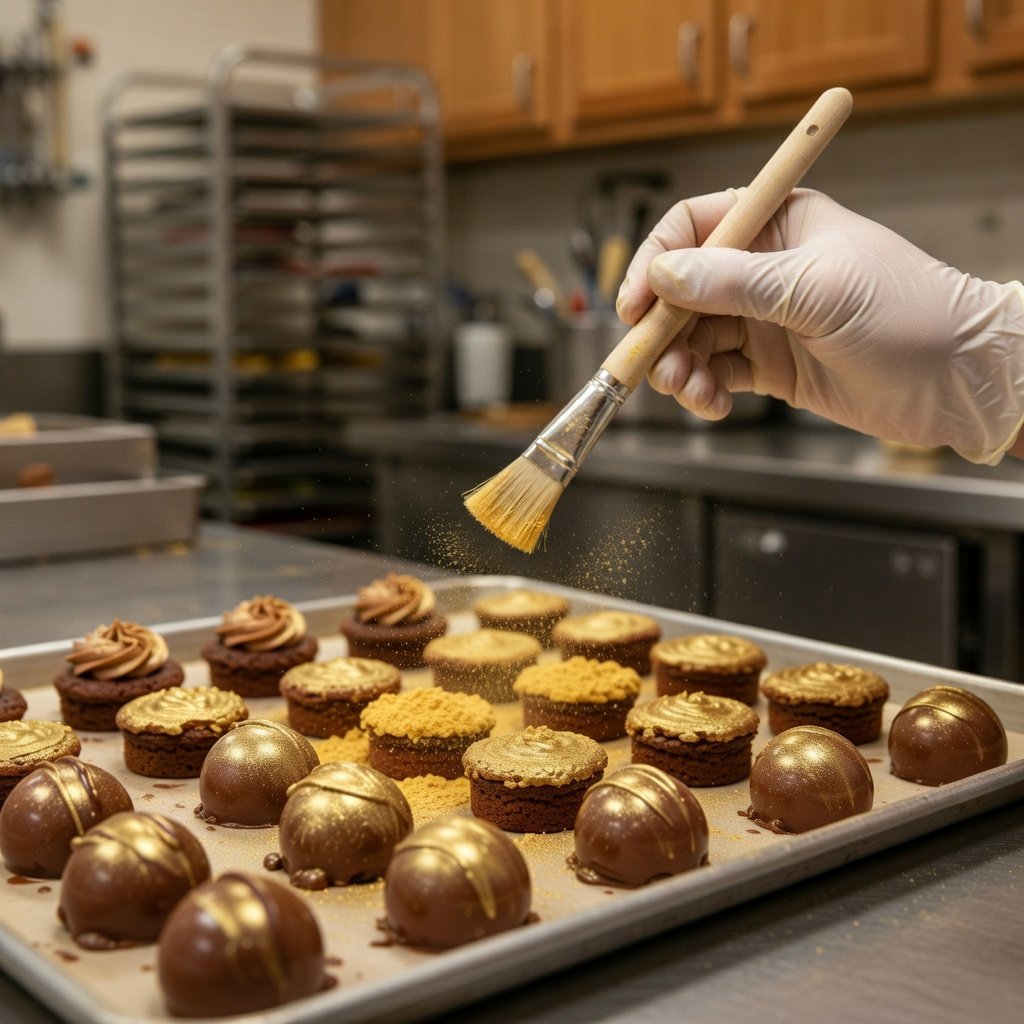
The practical upshot: a tiny amount of luster dust goes a long way precisely because the particles are so reflective. We’re talking 1/8 teaspoon in a cocktail glass, a light dusting over chocolate. If you’re dumping in spoonfuls, you’re wasting product and — honestly — making the effect worse. More isn’t more here.
For drinks, Gold Luster Dust is the standard. The warm tone catches light in champagne and prosecco better than anything else we’ve tried. For darker foods — chocolate truffles, dark cakes, espresso drinks — Silver Luster Dust is underrated. The contrast against a dark background does something gold can’t quite match.
The FDA Compliance Piece
Food-grade mica is listed under 21 CFR 73.350 — that’s the FDA’s approved color additive regulation for mica-based pearlescent pigments in food. It’s not a gray area, it’s not a loophole. It’s been an approved food ingredient for a long time.
The reason this matters: a lot of products online use the word “edible” loosely. Some of what’s being sold as edible glitter is actually just cosmetic-grade mica or plastic-based craft glitter. Those products might say “non-toxic,” which is technically different from “edible” — non-toxic means it won’t immediately poison you, not that it’s food. If you’re buying luster dust from somewhere and the ingredient list is vague or the label only says “non-toxic,” that’s a red flag.
Our stuff lists the ingredients. FDA compliant, every color. That’s the standard it should be held to.
Mica is a naturally occurring mineral. It’s mined from geological deposits, then processed and refined for specific applications — cosmetics, food, industrial use. The food-grade version goes through additional processing to meet purity standards. So: natural origin, refined for safety.
No — and that’s by design. Mica particles don’t dissolve, they suspend. They swirl through the liquid, reflecting light as they move, and eventually settle at the bottom of the glass. Give it another swirl and they’re back up. This is normal and expected. It’s also what makes shimmer drinks look the way they do.
The underlying mica base is the same across our full color range, so the shimmer depth is consistent. What changes is the hue and how that hue interacts with the color of your food or drink. Gold reads warmer and richer in light-colored backgrounds. Silver pops harder against dark surfaces. The shimmer quality? That’s the same jar to jar.
In luster dust, just mica and FDA-approved color pigments — usually iron oxides or other compliant colorants depending on the color. That’s it. No fillers, no binders, no anti-caking agents. Some other edible glitter products on the market include sugar, starch, or other carriers, which is why not all “edible glitter” behaves the same way. Luster dust is pure pigment.
Particle uniformity. German mica is processed to tighter specifications, so the particles are more consistent in size and shape. Consistent particles reflect light more evenly, which translates to that deep, even shimmer you see in professional applications. Inconsistent particles scatter light unpredictably — the shimmer ends up looking dull or flat. The difference is visible the moment you put them side by side.
You Might Also Like
What Is Edible Glitter Made Of? A Complete Ingredient Breakdown
The full ingredient list — what's in luster dust, what's in other edible glitters, and what to avoid.
What Is Luster Dust? The Complete Guide
Everything about luster dust — what it is, how to use it, and what makes it different from other edible glitters.

Is Edible Glitter Actually Safe? Everything You Need to Know
The full safety breakdown — FDA compliance, what 'non-toxic' actually means, and how to spot products that shouldn't be in food.