• Luster dust goes on after dipping — not in the coating
• Dry brushing gives you more control than mixing dust into chocolate
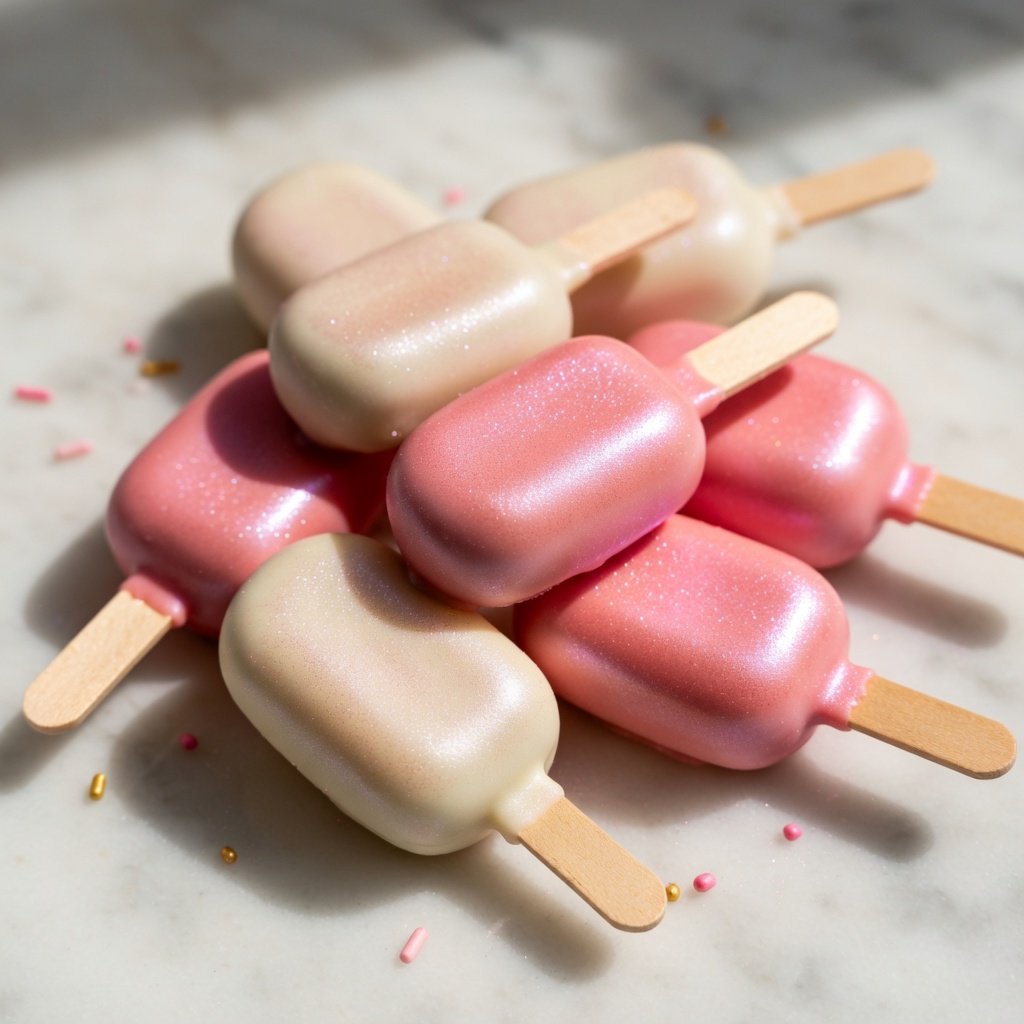
• Pink and gold together look ridiculous in the best way
• These hold up at room temperature for 2 days, refrigerated for up to a week
Cake pops are the perfect first luster dust project. Small surface, forgiving coating, and the shimmer shows up instantly. You’ll have these done in under an hour.
Ingredients
- 12 Store-bought or homemade cake pops, undipped (use your favorite recipe or box mix)
- 2 cups White chocolate melting wafers
- 1-2 tbsp Coconut oil or vegetable shortening (to thin the coating)
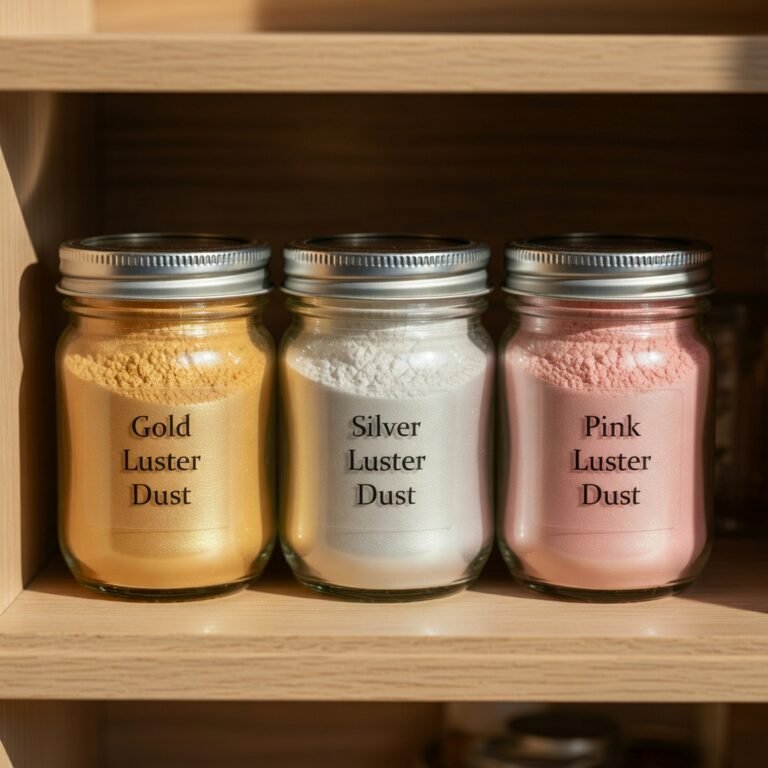
- 1/4 tsp Pink Luster Dust
- 1/8 tsp Gold Luster Dust
- 1 small dish Silver Luster Dust (optional, for accent dusting)
- 12 Lollipop sticks
- 1 block Styrofoam block or cake pop stand (for drying)
Your cake balls should be chilled — cold enough that they’re firm, not frozen solid. If they’re too warm, they’ll slide off the stick when you dip. Pop them in the fridge for 20-30 minutes if you’ve just shaped them.
Melt a small amount of chocolate, dip the tip of each lollipop stick about half an inch in, then push it into the center of the cake ball. Don’t go more than halfway through. Let them set for 5 minutes before you dip — this is the whole reason cake pops fall off sticks, and it’s a totally avoidable problem.
Melt your white chocolate wafers according to the package, then add coconut oil or shortening one tablespoon at a time until it’s thin enough to coat smoothly. You want it flowing, not clinging. Too thick and you’ll get clumpy pops. Too thin and the coating won’t cover. Somewhere in between.
Hold the stick, dip straight down, pull straight up. One smooth motion. Let the excess drip off — don’t shake it, just wait. Then stick them upright in your styrofoam block and leave them alone for 10-15 minutes until fully set.
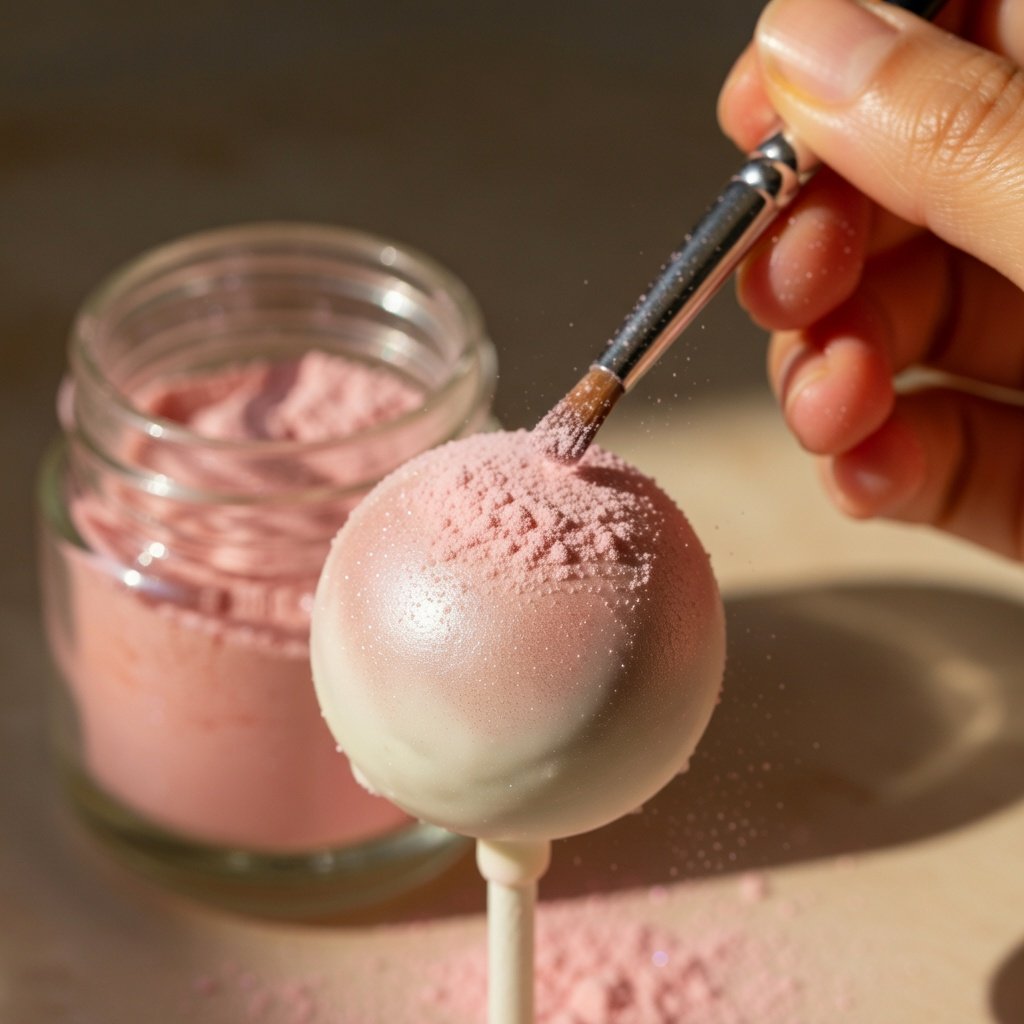
This is where it gets good. Once the coating is completely set — and it really does need to be set, not just dry-looking — take a soft food-safe brush and dust on your Pink Luster Dust. Light, sweeping strokes across the surface. You’ll see the shimmer appear almost immediately.
For the Gold Luster Dust, use a dry brush with even less dust — gold is stronger than pink and a little goes a long way. Concentrate it on the top half of each pop for a gradient effect, or coat the whole thing if you want full coverage.
If you’re using Silver Luster Dust as an accent, brush just the very tip. It plays well as a finishing touch without competing with the pink.
Arrange them in your stand, give them a few minutes after dusting so nothing smudges, and you’re done. The shimmer stays put once it’s on a dry surface — no sealing needed.
—
Dry brushing is the move here. Don’t mix luster dust directly into the melted chocolate — it disappears inside the coating and you lose almost all the shimmer. The whole point of luster dust edible decoration is that it sits on the surface where light can actually hit it. If you want more technique details, the [how to use edible glitter on cakes, cupcakes, and cookies](https://lusterdust.com/how-to-use-edible-glitter-on-cakes-cupcakes-cookies/) guide covers brushing vs. mixing vs. spraying in full.
New to this stuff entirely? The [edible luster dust beginner’s guide](https://lusterdust.com/edible-luster-dust-for-beginners-your-first-project-guide/) is a good read before you start — covers the basics so your first project doesn’t turn into a lesson in what not to do.
Two likely culprits: the coating wasn’t fully set, or your brush had moisture on it. Both kill the shimmer. Make sure the chocolate is completely hardened before you dust, and use a bone-dry brush. Even a tiny bit of water turns luster dust into paste instead of powder.
You can, but you’ll lose the crispness of both colors — it turns muddy fast. Better to do a full pass with pink first, let it sit for a minute, then do a lighter pass with gold on top. You get the warmth of gold over the softness of pink, and they both stay distinct.
A 10g jar of pink or gold will easily cover 40-50 cake pops with a light-to-medium dusting. You’re using maybe 1/16 of a teaspoon per pop. These jars last much longer than people expect.
You Might Also Like

Rose Gold Prosecco Spritz
Same pink-gold combination, now in a glass. Five minutes, absurdly pretty.
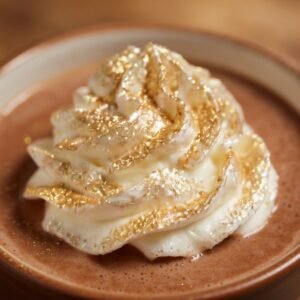
Shimmer Whipped Cream Topper
Another beginner-friendly project — dust on whipped cream and watch people lose their minds.

Glitter Rimmed Cocktail Glasses
If you've got leftover luster dust after making these, put it on a glass rim. You'll thank us.