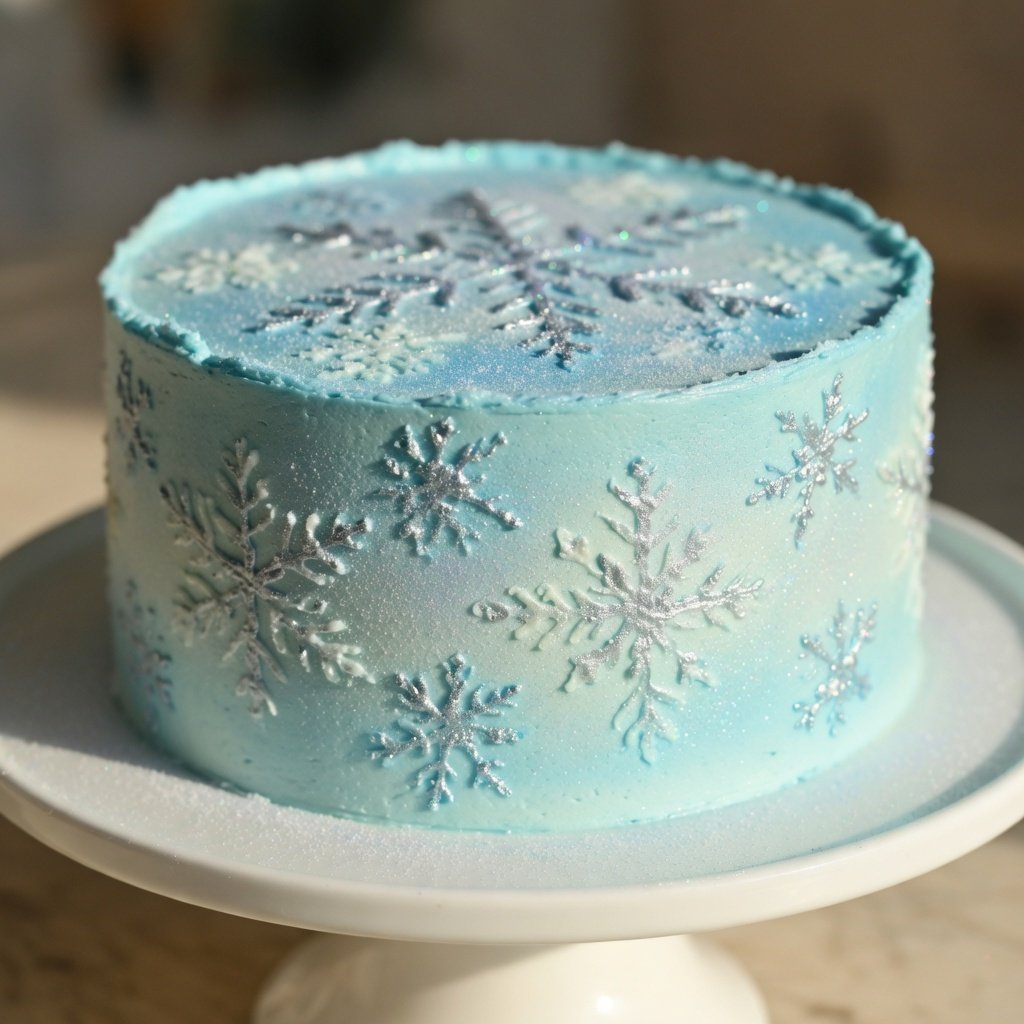
• Light blue + white luster dust together read as actual ice — the layering is the trick
• Dry brushing gives you the crispest snowflake detail; wet painting works for deeper shimmer on the sides
• 1/8 tsp of light blue luster dust per application is plenty — build up slowly
• This cake photographs best in natural light, where the mica pigments fully catch
Three colors. One cake that looks like it came out of a snowstorm. Light Blue Luster Dust, White Luster Dust, and a hit of Silver Luster Dust on the snowflakes — the combination reads as frozen, not just blue.
Ingredients
Ingredients
- 2 boxes White cake mix (plus ingredients per box)
- 4 cups Vanilla buttercream frosting
- 1-2 drops Sky blue gel food coloring
- 1/4 tsp Light Blue Luster Dust
- 1/4 tsp White Luster Dust
- 1/8 tsp Silver Luster Dust
- 1 tsp Clear vanilla extract or vodka (for mixing)
- 1 Snowflake stencil or piping bag with snowflake tip
- 2 Fine-tipped food-safe paint brush
- 1 Soft fluffy brush (for dusting)
Instructions
Bake your cake layers according to the box instructions. Two standard 8-inch rounds work well here. Cool completely before touching them — warm layers will tear and the luster dust won’t apply cleanly over melted frosting.
Add 1-2 drops of sky blue gel coloring to your buttercream. You want barely-blue — think first light on snow, not a swimming pool. Frost and stack your layers, then do a smooth final coat. Chill the frosted cake for at least 20 minutes before decorating.
Take your soft fluffy brush and load it lightly with Light Blue Luster Dust. Tap off the excess — seriously, tap it off — then sweep it across the sides and top of the cake in loose, uneven strokes. Uneven is right here. You’re going for frost, not a paint job.
Same technique with White Luster Dust, but apply it over the lightest areas — the top edges and wherever you want that icy highlight effect. The white catches differently than the blue. Together they create actual depth, not just color. This is the step most people skip, and it shows.
Mix a small amount of Silver Luster Dust with a few drops of clear extract or vodka until it’s a thin paint — about the consistency of watercolor. Use a stencil or pipe your snowflake shapes in white royal icing first, then paint over them with the silver mixture. The silver over white gives you that bright-against-ice look. If you’re freehanding, practice on parchment first. For technique notes on different application methods, [this guide on using edible glitter on cakes](https://lusterdust.com/how-to-use-edible-glitter-on-cakes-cupcakes-cookies/) covers dry brush vs. wet paint in detail.
Once the painted snowflakes are dry (10-15 minutes), do a final light pass of Light Blue across the whole cake. This pulls everything together and makes the snowflakes look like they’re part of the surface rather than sitting on top of it.
Tips
Luster dust grips chilled buttercream way better than room-temperature frosting. After your final crumb coat, refrigerate the cake for at least 20 minutes. The surface firms up and the dust doesn’t smear or drag. If you’re decorating in a warm kitchen, keep the undecorated sections chilled while you work in stages.
Start with 1/8 tsp of light blue, see where you are, and add more if needed. A little goes a long way on a light-colored cake — the mica in these pigments is fine enough that even a thin layer reads as shimmer. Overdoing it flattens the effect and can muddy the color.
If you’re painting snowflakes directly on the frosting, put down a thin layer of white first and let it set. Silver paint on bare blue buttercream disappears. Silver on white pops. Same principle as painting on a primed surface — the base color determines how the shimmer reads.
You Might Also Like
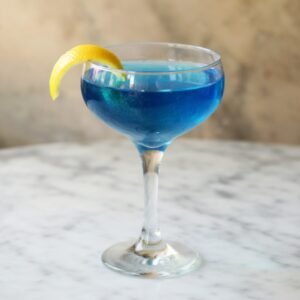
Enchanted Blue Lagoon Cocktail
Light blue shimmer in a cocktail glass — same color palette, completely different occasion.
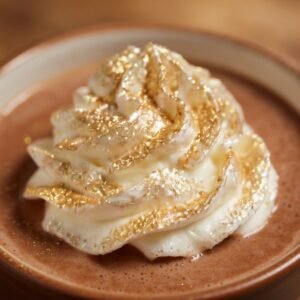
Shimmer Whipped Cream Topper
Fastest way to add luster dust to any dessert. Good companion technique for this cake.

Cranberry Glitter Punch
If you're serving this cake at a winter party, this punch belongs next to it.