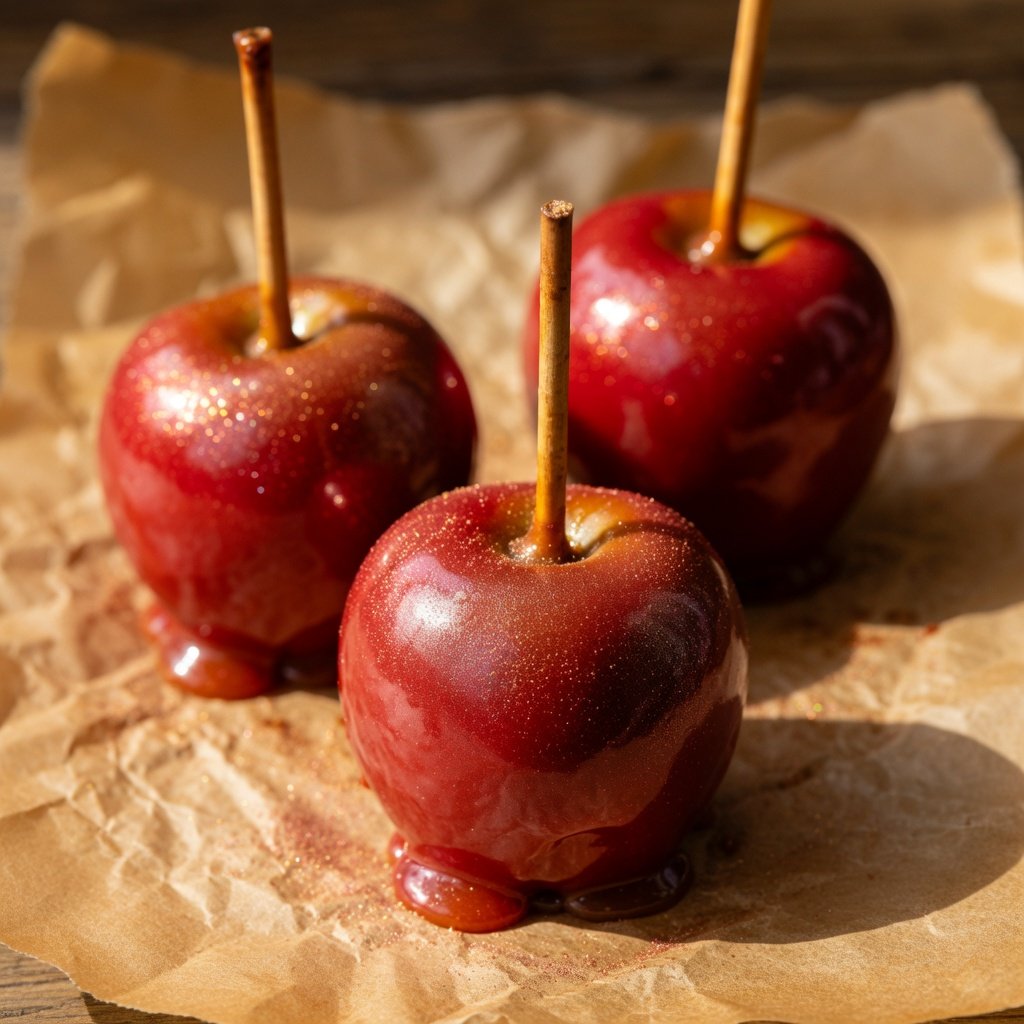
• Red luster dust goes on after the caramel sets — not before, not during
• A dry brush gives you control; too much at once and it clumps
• Gold around the base adds depth and makes the red pop harder
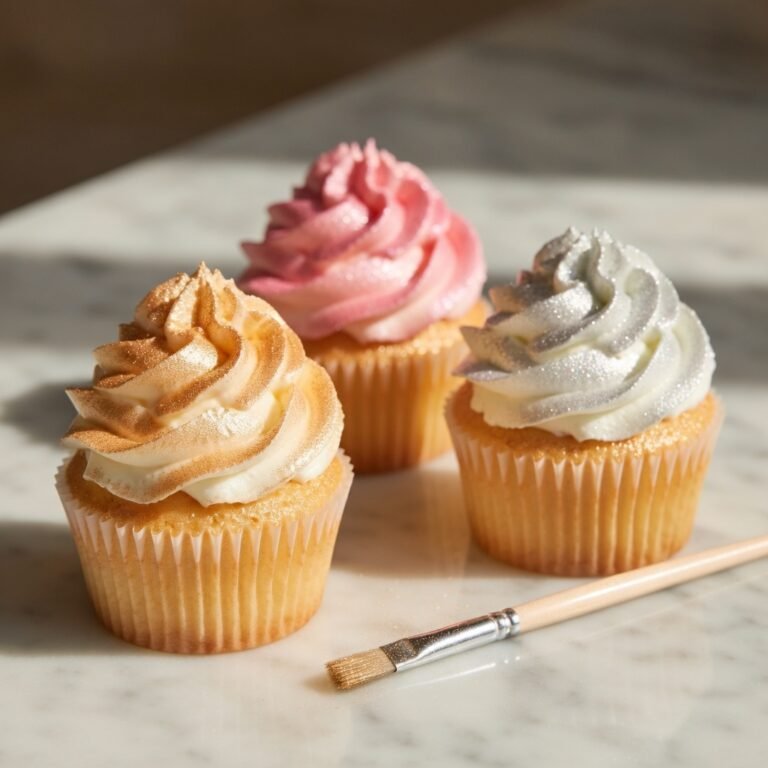
• All three glitter colors used here are FDA compliant and completely tasteless
Red. Glossy. Covered in edible red glitter that catches light like it’s on fire. These are the caramel apples people stop and stare at before they eat them.
Ingredients
- 6 Granny Smith apples, washed and completely dry
- 6 Wooden craft sticks or caramel apple sticks
- 1 bag (11 oz) soft caramel candies, unwrapped
- 2 tbsp heavy cream
- 1/2 tsp fine sea salt
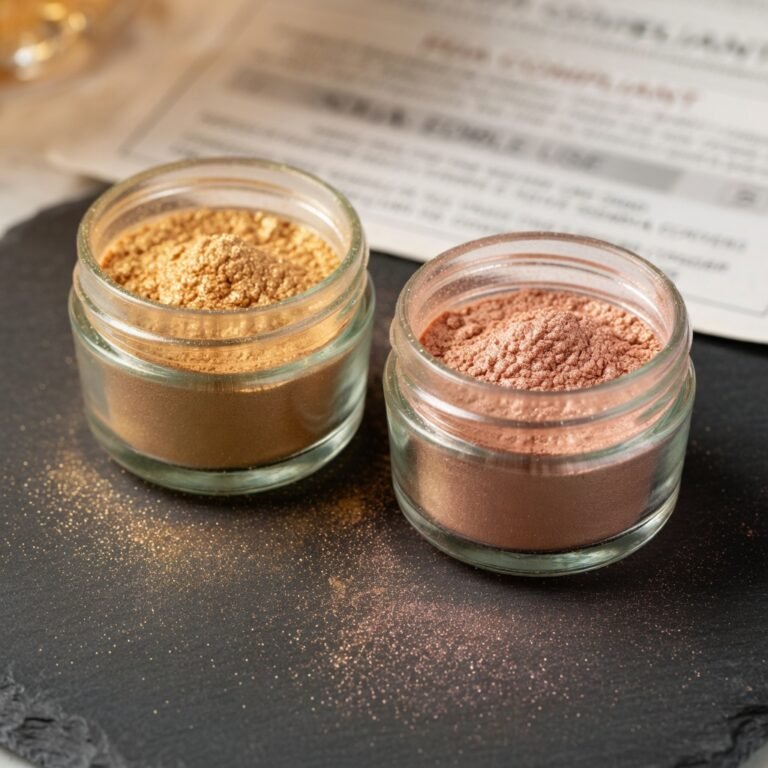
- 1 tsp Red Luster Dust
- 1/4 tsp Gold Luster Dust
- 1/4 tsp Orange Luster Dust (optional — deepens the color transition)
Remove the stems and push a stick firmly through the core — you want it to go at least halfway through. Set them on a parchment-lined baking sheet. Cold apples actually help the caramel set faster, so refrigerate them for 15 minutes before dipping if you have time.
Combine the unwrapped caramels and heavy cream in a medium saucepan over medium-low heat. Stir constantly. The second everything is smooth and glossy, pull it off the heat and stir in the salt. Don’t rush this — scorched caramel is a real thing and it’s not salvageable.
Tilt the saucepan and dip each apple, rotating to coat. Let the excess drip off for a few seconds — if you skip this, you get a caramel puddle on your parchment instead of a clean apple. Set each one back on the lined sheet. Give them at least 20 minutes to firm up. Room temperature is fine; the fridge works faster.
Once the caramel is fully set, load a soft, dry pastry brush with Red Luster Dust and brush it over the entire apple in short strokes. Start light — you can always add more. The caramel’s slightly tacky surface grabs the pigment well. For full coverage with real depth, you’ll want two coats.
Take a second clean brush, pick up a small amount of Gold Luster Dust, and dust it lightly around the bottom third of each apple. This is optional in theory. In practice, it’s what makes these look expensive. If you have Orange Luster Dust on hand, a little blended between the red and gold creates a gradient that honestly looks like the apple is glowing.
These are best the day they’re made. If you need to hold them, keep them at room temperature — the fridge dulls the shimmer a bit. Set them upright in a styrofoam block or small glasses if you’re displaying them.
All three luster dust colors here are FDA compliant, vegan, gluten-free, and completely tasteless — they don’t change the flavor of the caramel at all. If you’ve ever wondered about the safety side of this stuff, we broke it down in detail [here](https://lusterdust.com/is-edible-glitter-actually-safe-everything-you-need-to-know/).
Any moisture on the surface of the apple — from washing, condensation, anything — will cause the caramel to slide right off. Wash them the night before and let them air dry completely, or towel dry and let them sit for an hour. Seriously, this is the step people skip and regret.
Use a separate brush for red and gold. If you use the same brush, you’ll muddy both colors and lose the contrast. Small, cheap pastry brushes work perfectly here. Grab a pack of them — they’re useful for basically every luster dust project.
Touch the edge lightly with a fingertip. If it’s still tacky-wet, wait. If it feels firm but slightly grippy, that’s the sweet spot — the pigment sticks without smearing. Fully hardened caramel works too, but the shimmer sits on the surface rather than bonding, so the second coat matters more.
You Might Also Like

Cranberry Glitter Punch
A deep red shimmer drink that pairs perfectly with these apples at a fall party.

Glitter Rimmed Cocktail Glasses
If you're doing a Halloween spread, glitter rims on the glasses make the whole table.
Green Potion Mocktail
Green shimmer drinks next to red glitter apples. Halloween sorted.