• Edible glitter dust transforms plain glazed donuts into something that looks genuinely impressive — with almost zero extra effort
• Dry dusting gives you the best shimmer; don’t mix the dust into wet glaze
• Gold, pink, and purple work great individually or all three on the same batch
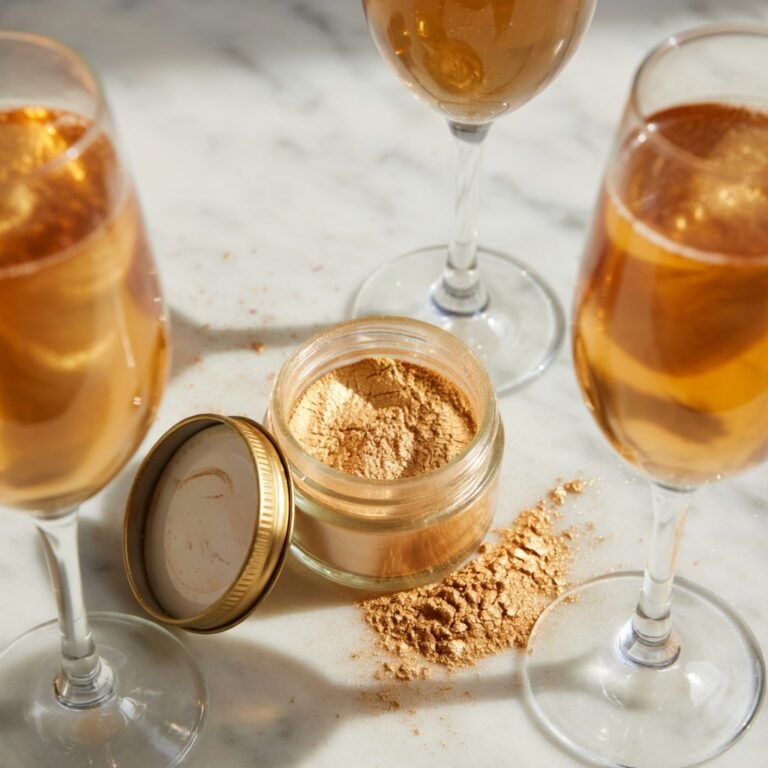
• One 10g jar covers way more donuts than you’d expect — we’re talking 40+ easily
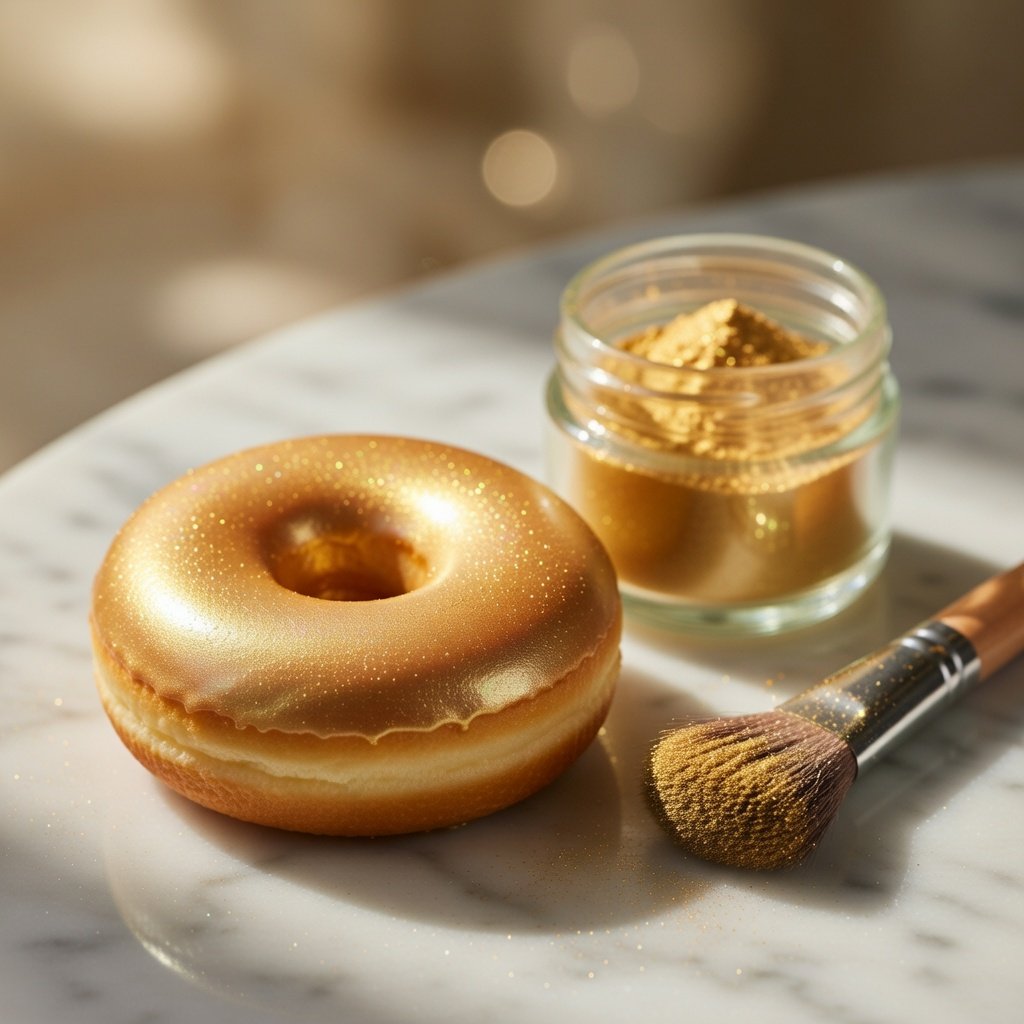
Glazed donuts, a soft brush, and a pinch of edible glitter dust. That’s basically the whole recipe. The shimmer on these is ridiculous — every color catches light differently, and a dozen of them on a platter together looks like you tried way harder than you did.
Ingredients
- 12 Plain glazed donuts (store-bought or homemade)
- 1/4 tsp Gold Luster Dust
- 1/4 tsp Pink Luster Dust
- 1/4 tsp Purple Luster Dust
- 1 Soft food-safe brush (one per color, or rinse and dry between uses)
If your donuts are freshly glazed, give them 15–20 minutes to set up. The glaze should be dry to the touch — tacky is fine, wet is not. Dusting onto wet glaze makes the powder clump instead of shimmer.
Dip the tip of your brush into the luster dust. Tap off the excess on the edge of the jar — you want the bristles barely coated. This is where most people go wrong. Too much on the brush and it dumps instead of dusts.
Hold the brush about an inch above the donut and sweep in soft circles across the glaze. Build up the shimmer in thin layers rather than one heavy pass. Two or three passes give you that deep, even glow. The Gold Luster Dust picks up light incredibly well with just two passes — it genuinely looks metallic.
Do all the gold donuts first, then move to Pink Luster Dust, then Purple Luster Dust. Keep colors separate — cross-contamination muddies them. If you’re doing a mixed-color pattern on a single donut, let each color settle for 30 seconds before going in with the next.
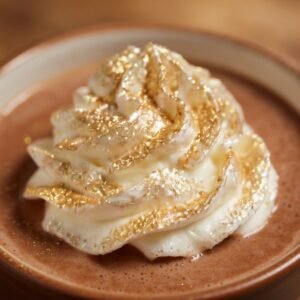
Stack them, plate them flat, stack them on a tower — whatever you’re doing, the shimmer holds. These photograph best under natural light or direct overhead light, where the mica pigments really catch.
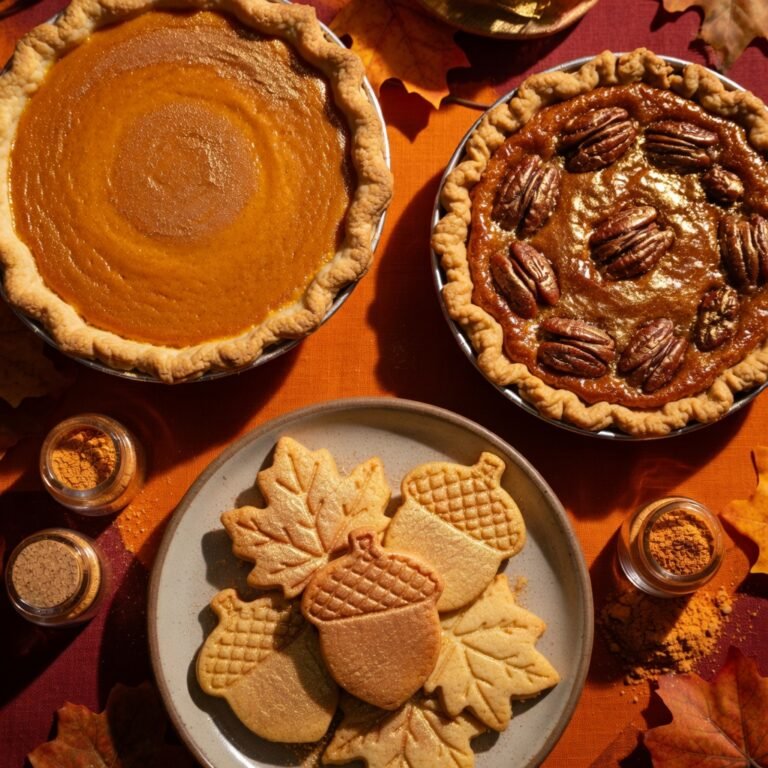
New to working with edible glitter dust? The [edible luster dust for beginners guide](https://lusterdust.com/edible-luster-dust-for-beginners-your-first-project-guide/) covers the dry-brush technique in detail — same method, works across everything. And if you want to take this further into cakes and cookies, [this guide on using edible glitter on baked goods](https://lusterdust.com/how-to-use-edible-glitter-on-cakes-cupcakes-cookies/) is worth a read before your next project.
Yes, and it looks great. Do one color at a time and use a clean brush for each. Gold toward the center, pink around the edges is a combination that works particularly well — the warm and cool tones play off each other. Just don’t blend them while both are still loose on the surface or you’ll end up with a murky middle tone.
The glaze gives the dust something to grip. If yours are plain cake donuts or have a matte coating, brush on a very thin layer of clear corn syrup first, let it get just barely tacky (about 5 minutes), then dust. Works just as well.
Dust them the day of, if you can. The shimmer is at its best fresh. If you need to prep ahead, dust them no more than a few hours before serving and store uncovered — covering them can cause condensation that dulls the finish.