- Dry dusting works on royal icing and fondant — wet mixing (luster dust + alcohol or extract) works on everything else
- Less is more. Start with a small dry brush and build up — you can always add, you can’t take away
- Gold and silver are the workhorses, but white luster dust on dark cookies is genuinely underrated
- Your icing surface matters more than most people realize — glossy royal icing catches the shimmer best
The Two Methods — And When to Use Each
Luster dust on cookies isn’t complicated, but there’s a right way to approach it depending on what surface you’re working with. The method changes depending on your icing, your cookie, and what kind of finish you’re going for. Get this part right and everything else is easy.
Dry Dusting: The Quickest Way to Get Shimmer
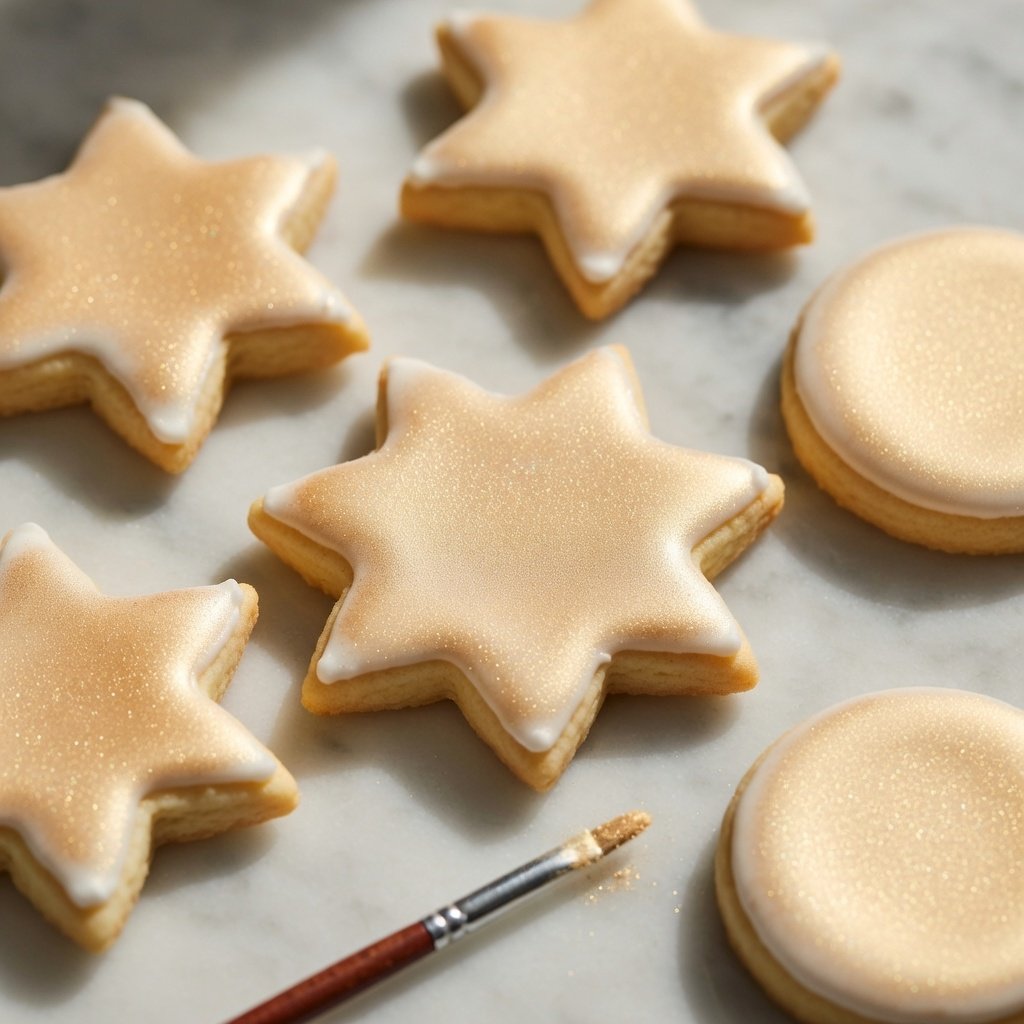
This is the method most people start with. Dip a dry food-safe brush — a flat or fan brush works best — into the luster dust, tap off the excess, and lightly sweep it across your icing. That’s the whole thing.
Dry dusting works beautifully on smooth, fully set royal icing. The hard surface gives the pigment something to grab onto, and the shimmer reads clean rather than muddy. Fondant-covered cookies work just as well. Same principle.
A few things that trip people up: using too much dust at once, using a brush that’s too wet (even a tiny bit of moisture changes everything), and not letting the icing fully cure. Royal icing needs to be completely hard — not just dry on top. Give it a full 6-8 hours minimum, ideally overnight. Soft icing underneath will show every brush stroke.
Tap your brush against the jar rim before you touch the cookie. You want a whisper of pigment on the bristles, not a loaded brush. Build it up in two or three light passes rather than going heavy on the first one. If you’re new to this, that beginner’s guide walks through brush technique in detail — worth a read before your first cookie project.
Wet Painting: For Opaque Color and Metallic Finishes
Mix luster dust with a small amount of clear alcohol — vodka works, so does food-grade grain alcohol, or clear vanilla extract if you’re keeping it alcohol-free. You’re looking for a paste-like consistency, not watery. Start with just a drop or two of liquid and mix with a fine brush until it comes together.
This gives you a more opaque, painted metallic effect. Think gilded gingerbread or painted gold lettering on a decorated sugar cookie. The shimmer is more concentrated and the color reads more like actual metallic paint than dust. It takes about 30-60 seconds to dry, and the alcohol evaporates completely — no taste, no residue.
The wet method also works on surfaces that dry dusting can’t reach. Bare cookie surfaces, textured buttercream, slightly uneven fondant — all fair game. Just know that on anything absorbent, you’ll likely need two coats. First coat soaks in a bit, second coat is where you get the real shimmer.
One thing: don’t over-dilute. Too much liquid and you lose the pigment density. The color should look rich in the bowl before it goes on the cookie — if it looks washed out, add more dust.
Which Colors to Use
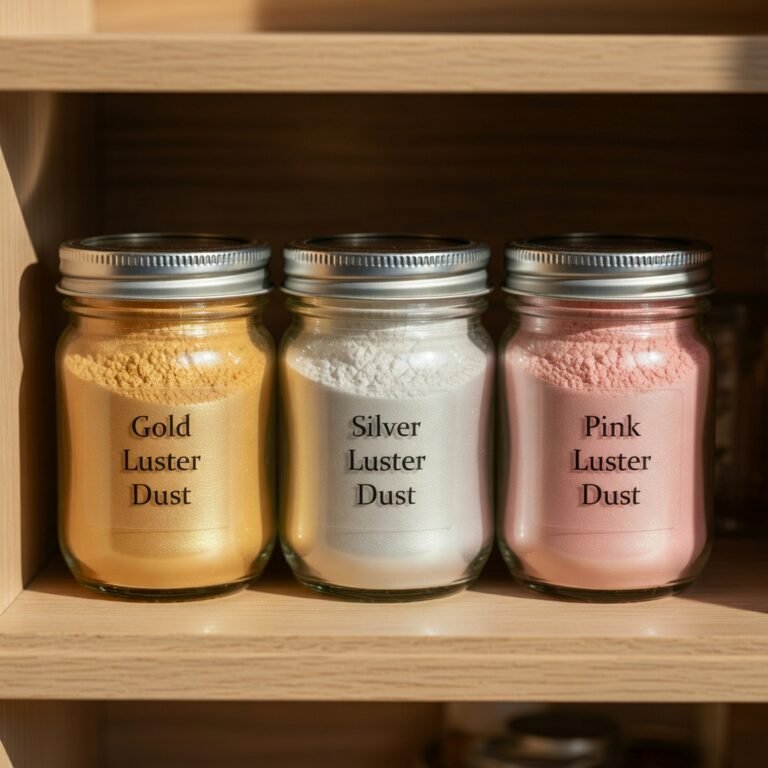
Gold Luster Dust is the obvious starting point. It works on literally every cookie style — holiday, wedding, birthday, everyday. Gold on white royal icing looks expensive. Gold over tan gingerbread looks warm and rich. It’s the color that makes people stop and actually look.
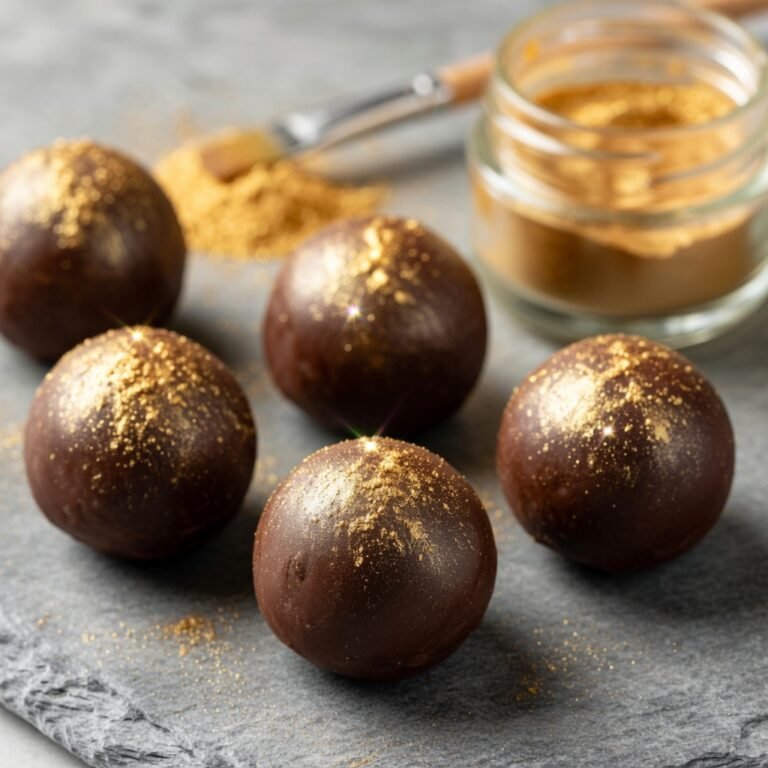
Silver Luster Dust is what you want when you’re going for something more graphic or modern. Silver on dark chocolate icing is striking — really striking. It also reads cooler and more elegant than gold, which matters depending on the event.
Here’s an underrated one: White Luster Dust on white icing. It sounds redundant but it’s not. White luster dust adds a pearlescent shimmer that you only notice when the light hits it — like a moonstone effect. Great for wedding cookies, winter themes, anything where you want subtle over flashy.
For more color inspiration and how luster dust works across different baked goods, this guide covers cakes, cupcakes, and cookies all in one place.
The Surface Question
Your icing type changes your results more than almost anything else. Here’s the quick breakdown:
- Glossy set royal icing: Best surface for dry dusting. Hard, smooth, the pigment sits right on top.
- Matte royal icing: Still works, but the shimmer is slightly less dramatic. More passes needed.
- Fondant: Great for both methods. Smooth fondant with the wet method gives you a flawless metallic finish.
- Buttercream: Dry dusting is tricky because the surface is soft. The wet method works better — paint it on and let it set.
- Bare cookie surface: Wet method only. The dry pigment won’t adhere to an uncoated cookie — it’ll just brush off.
A Few Things Worth Knowing
Luster dust is tasteless. Completely. You won’t notice it on the cookie at all, which is the whole point — the effect is visual, not culinary. Everything we make is FDA compliant and made from food-grade German mica pigments. If you’ve seen other brands with vague “non-toxic” labels, that piece on edible glitter safety explains exactly what that distinction means. Short version: non-toxic isn’t the same as edible.
Storage is easy — keep the jar sealed and away from moisture and humidity. The dust clumps if it gets wet, but even then, a quick stir with a dry toothpick usually fixes it. A 10g jar goes further than you’d expect. We’ve done hundreds of cookies from a single jar.
Yes, but skip the dry dusting method. Buttercream is too soft for a brush to glide across cleanly. Mix your luster dust with a drop of clear vanilla extract or vodka to make a paint, then apply with a fine brush. Two thin coats work better than one thick one.
No. It’s completely tasteless and odorless. Your cookies taste exactly the same as they would without it.
A 10g jar is plenty for multiple batches. For reference, a light dusting on two dozen decorated sugar cookies uses maybe 1-2g. Even if you’re painting with the wet method, a 10g jar goes a long way.
Absolutely. Gold and copper look great together. Silver and white creates a winter shimmer that works really well on snowflake cookies. Apply one color, let it set for a minute, then layer the second. Start light with the second color — you can always add more.
A small, flat food-safe brush for dry dusting. A fine-tipped brush for the wet method when you want precise detail. Craft store brushes work fine — just make sure they’ve never been used with non-food products, or buy brushes specifically for baking.